Add Events Via Data Upload
Supported upload formats include:
- Comma Separated Values (.CSV)
- Tab-delimited (.TXT)
- "iCalendar" / Internet Calendaring and Scheduling (.ICS)
- XML
- Excel (.XLSX)
NOTE: While uploading, do not refresh the page or close the window until processing completes.
Upload Events
- From your Site Map, click on Events data site.
- Click the upload data button.

- From the Data Upload dialog box, click on the Browse button to select the file on your computer.
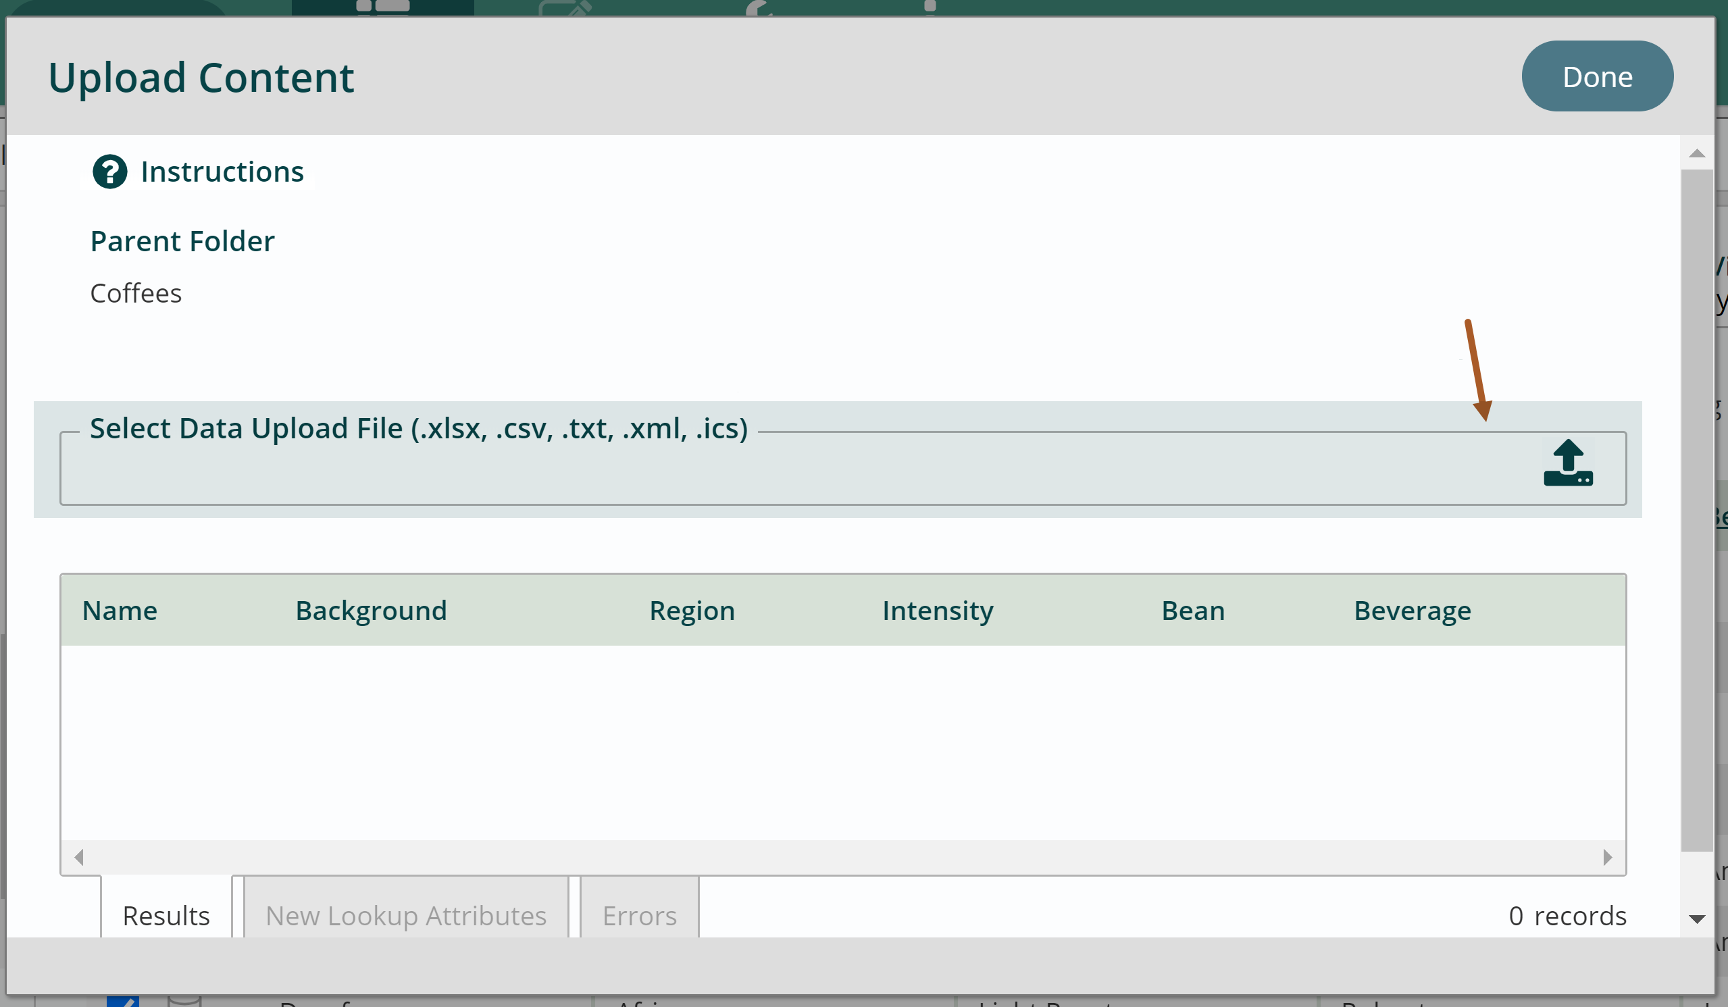
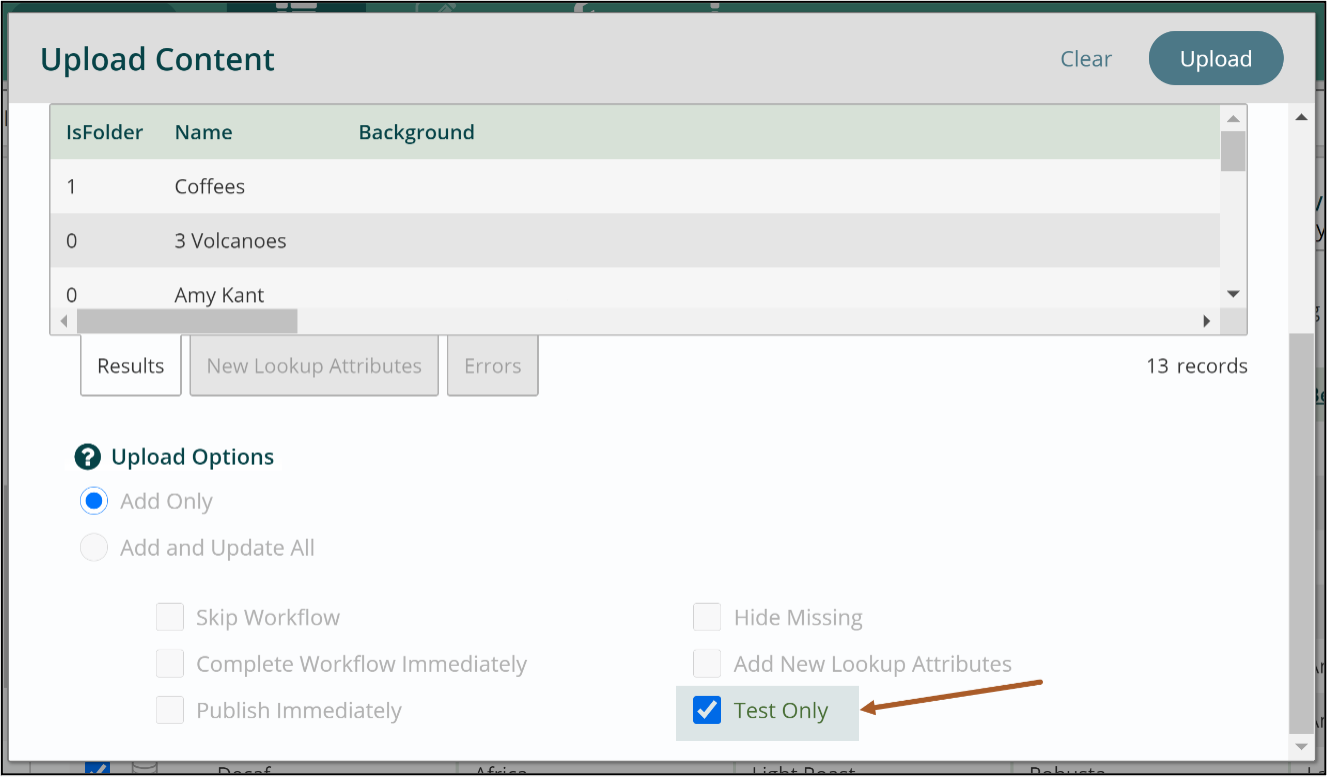
NEW in Titan CMS 7.0: The data upload feature is compatible with .xlsx, .csv, .txt, .xml and .ics file types. - You will now see your data in the Data Upload dialog box. We recommend you test your data before permanently uploading it to Titan CMS. You need to choose “Test Only” before you upload the data.
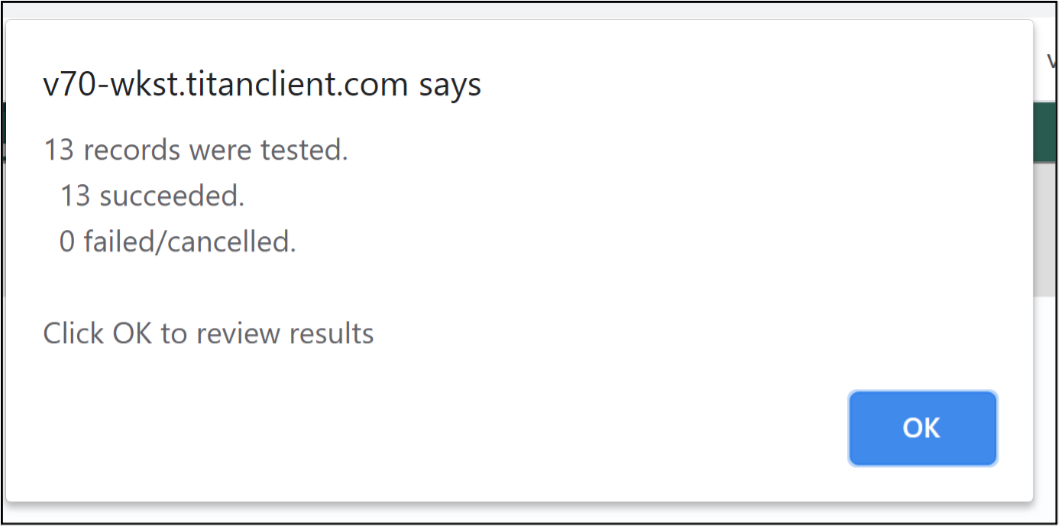
- This will allow to see how many records were tested, how many records succeeded, and how many failed.
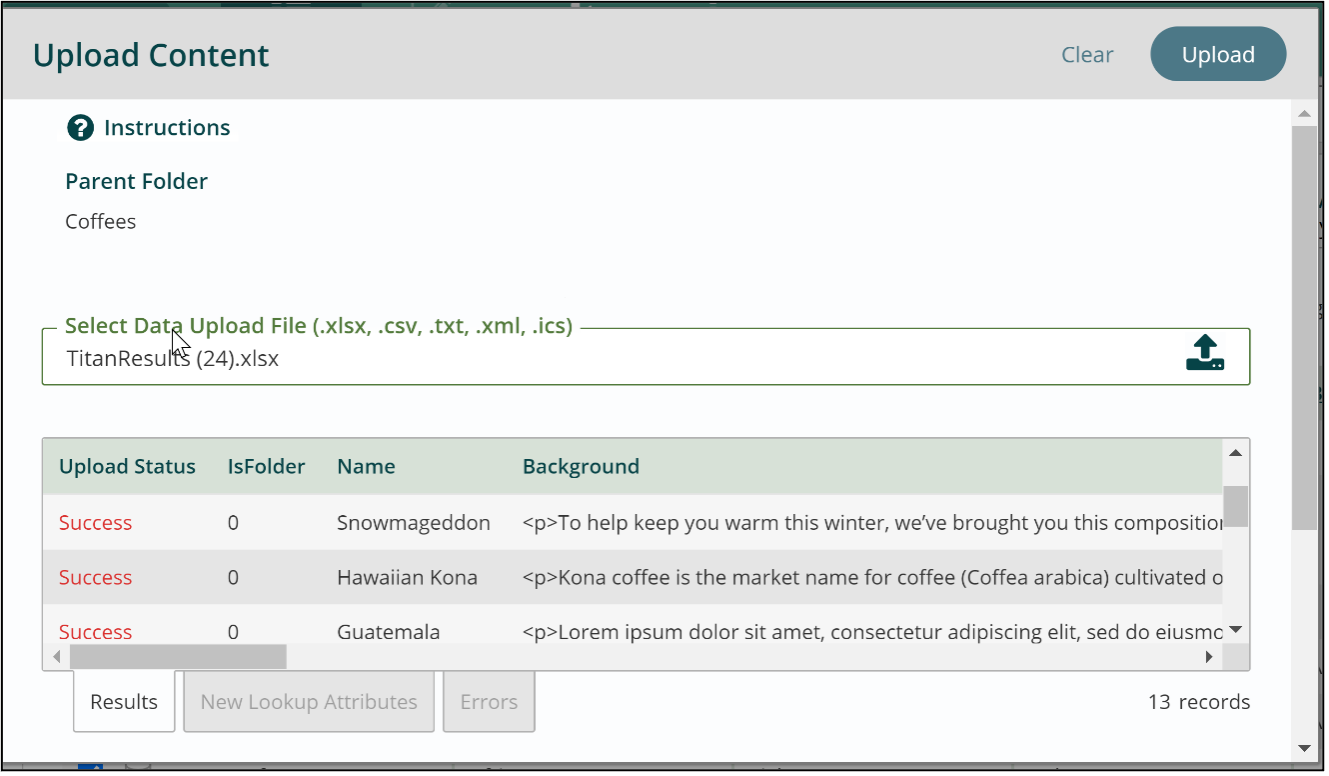
- Select “OK” to see which items were successfully uploaded and which ones failed.
- Under Upload Options, select Add and Update All, and click the checkbox next to Skip Workflow.
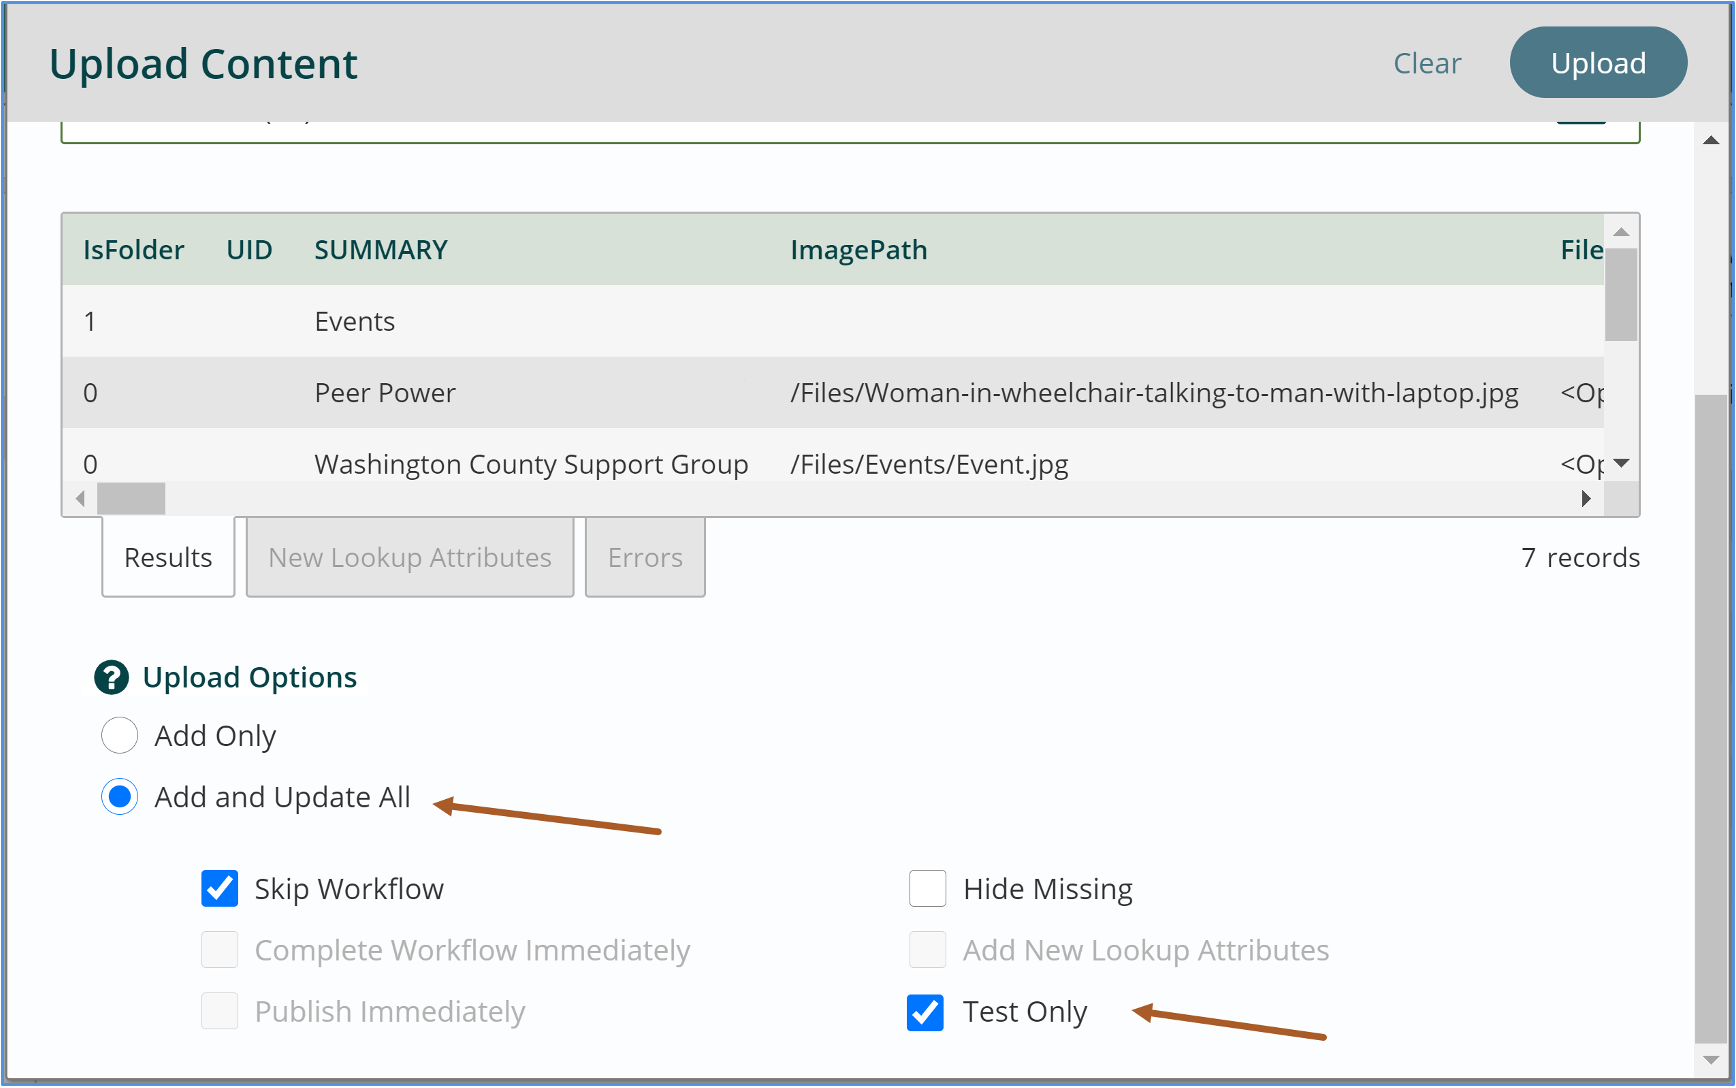
- Click the checkbox next to Test Only in order to ensure there are no issues with your data file before uploading them to your database. Click Upload to test.
- A window will appear with information on which records will upload properly, and which ones will fail.
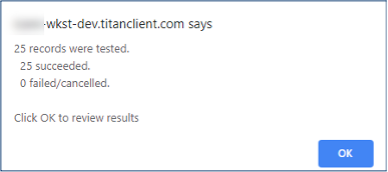
- Click OK.
- If there are any errors, update them in the source file and then attempt upload again.
- If there are no issues, you can uncheck the Test Only checkbox and click Upload button to upload the events to your data node.
- You will see the confirmation window again, informing you that the upload was successful.

- The Browse Pane will now have all your uploaded events listed.
- You may need to go into each event to add additional content. See Add/Edit Event for more information.
This feature is an Add-In that may not be automatically available or included in your Titan CMS license. Please contact us for additional information.
Get Support
Expert Titan CMS Support is just a phone call or email away!
Titan CMS Help Desk
9a.m.-5p.m. CT Mon-Fri
Tel: 414-914-9200
Email: support@nwsdigital.com

