Form Field Options
You have many options beyond your basic text box form field.
- Drop Down List Field
- List Box Field
- Check Box Field
- Multiple Choice Field
- Radio Group Field
- Date and Time Field
- Hidden Field
- File Upload Field
- Related Office Hours Video
Drop Down List Field
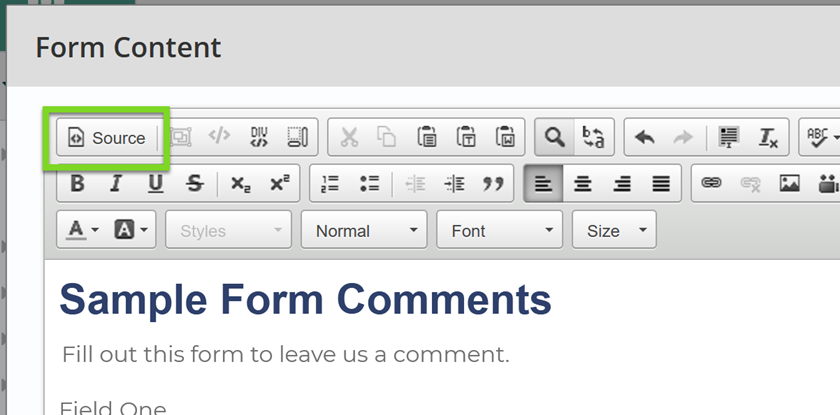
- Click the Titan Form Icon in the WYSIWYG tool. The Text Box List template will display by default.
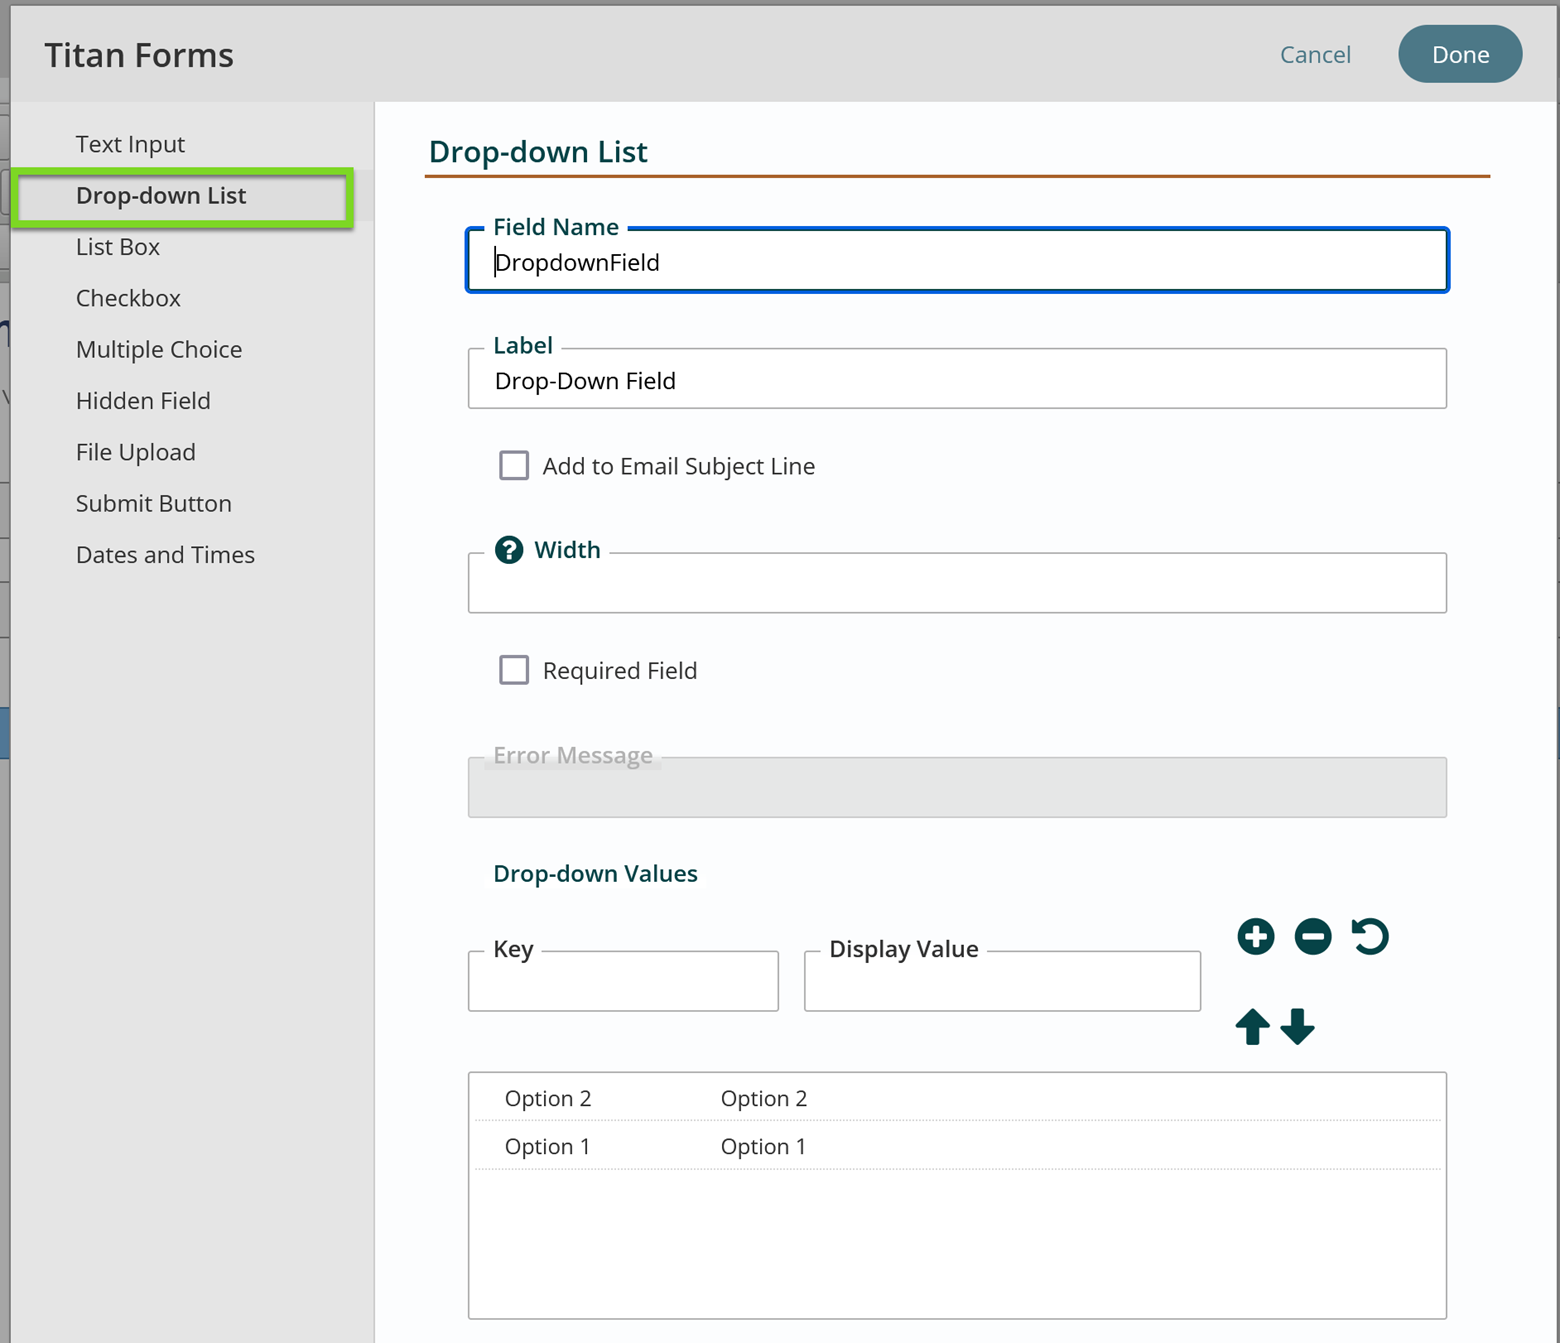
- Select Drop-Down List from the left navigation list.
- Enter the Field Name and Label, and, if applicable, the width and required field and error message.
- Enter the list options into Key and Display Value in the Drop-down Values section. Hit the plus button after each option is entered. If you would like to rearrange the order of the list, click on a list item and hit the up or down arrow button to move it.
- Select Done to add Drop Down List to form. The Form's Content screen will display.
- Click Save or Publish from the App Ribbon.
List Box Field
- Click the Titan Forms Icon in the WYSIWYG tool. The Text Box template will display.
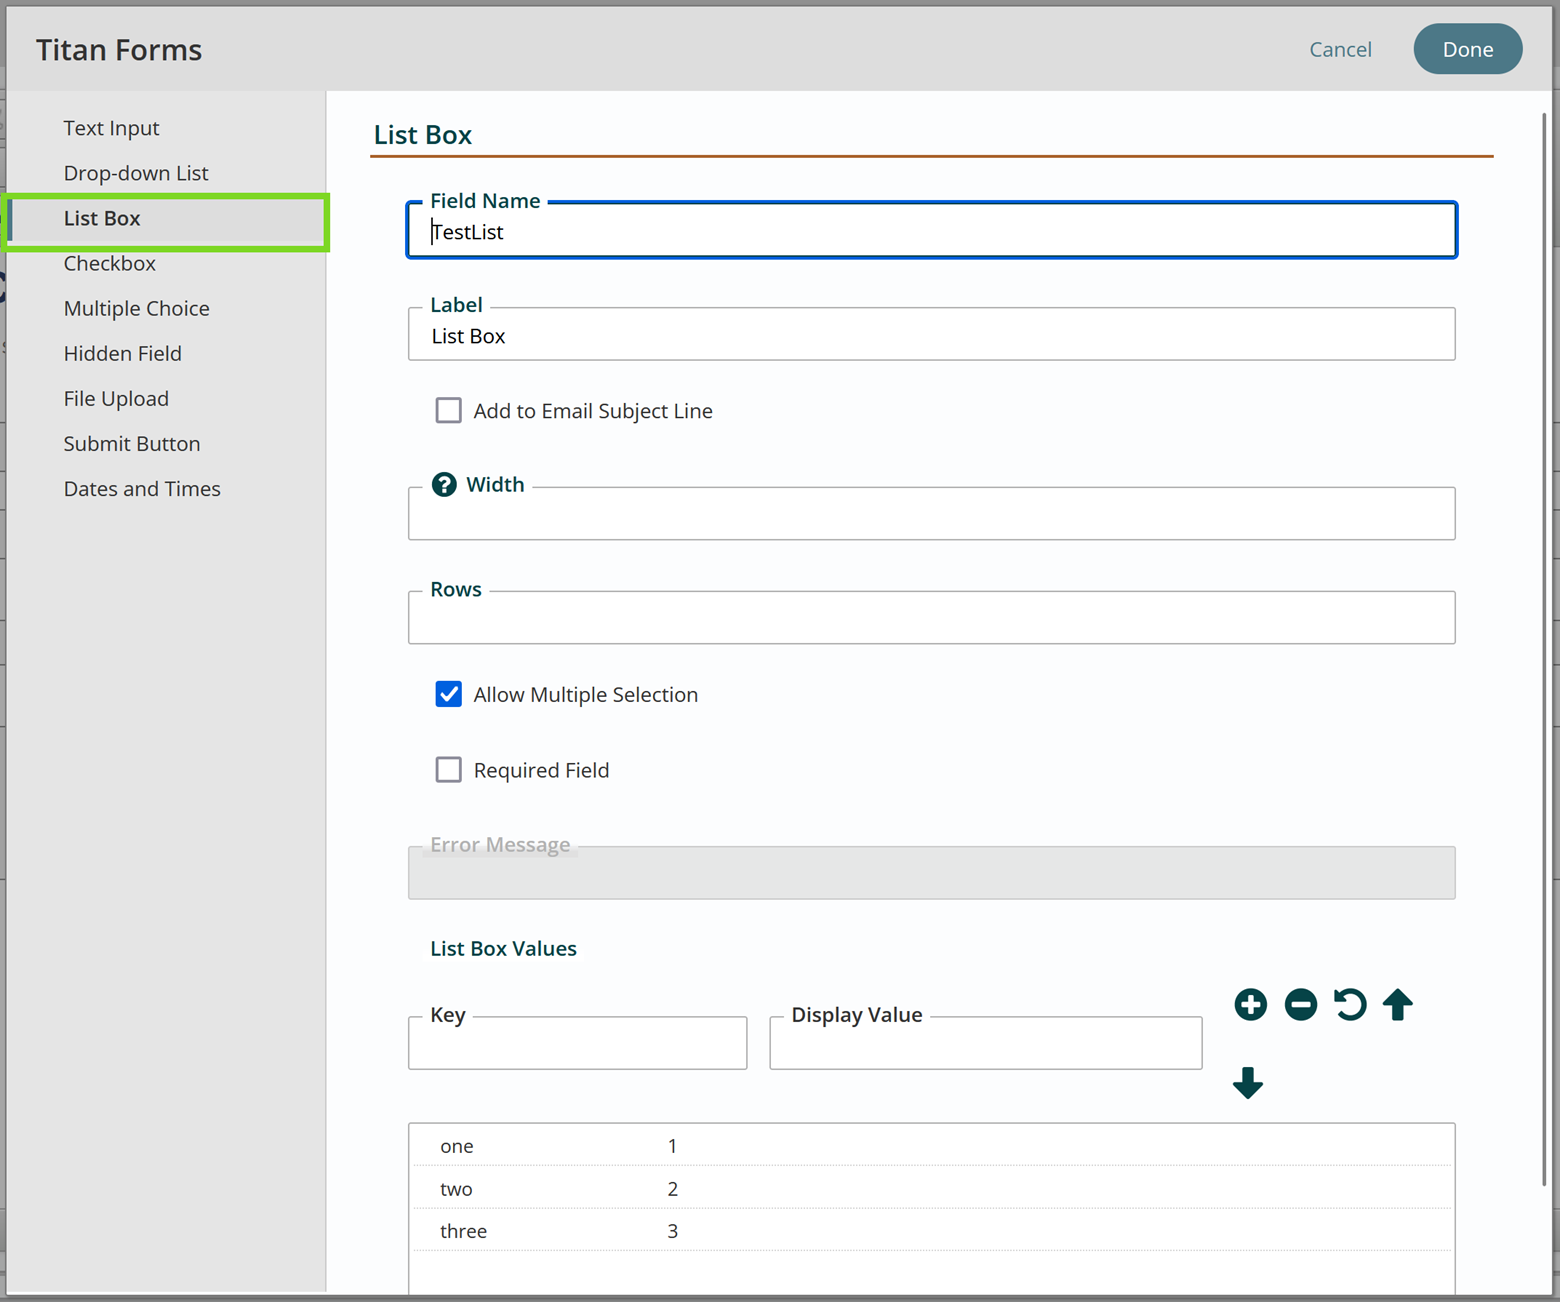
- Select the List Box from the left navigation list.
- Enter the Field Name and Label, and, if applicable, the width, the required field and error message, and if multiple selections are allowed.
- Enter the List Box Values into Key and Display Value in the Drop-down Values section. Hit the plus button after each option is entered. If you would like to rearrange the order of the list, click on a list item and hit the up or down arrow button to move it.
- Select Done to add List Box to form or Cancel. The Form's Content screen will display like so, with your default styling applied.

- Click Save or Publish from the App Ribbon.
Check Box Field
- Click the Titan Forms Icon in the WYSIWYG tool. The Text Box template will display. (Note: this is for a single text box only. If you are looking to create a form field with multiple check boxes for one question, you will need a Multiple Choice field, with check boxes selected as the style option.)
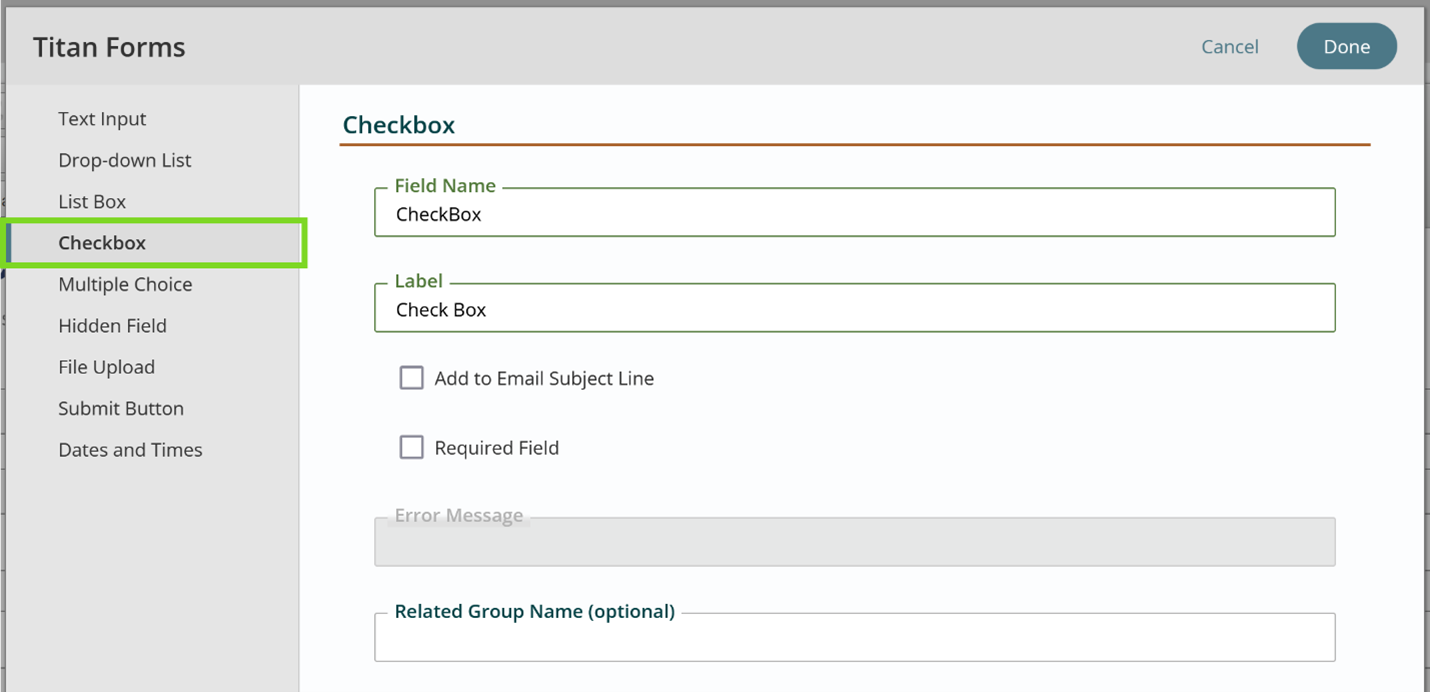
- Select Check Box from the left navigation list.
- Enter the Check Box information.
- Select Done to add Check Box to form or Cancel. The Form's Content screen will display.
- Click Save or Publish from the App Ribbon.
Multiple Choice Field
- Click the Titan Forms Icon in the WYSIWYG tool. The Text Box template will display
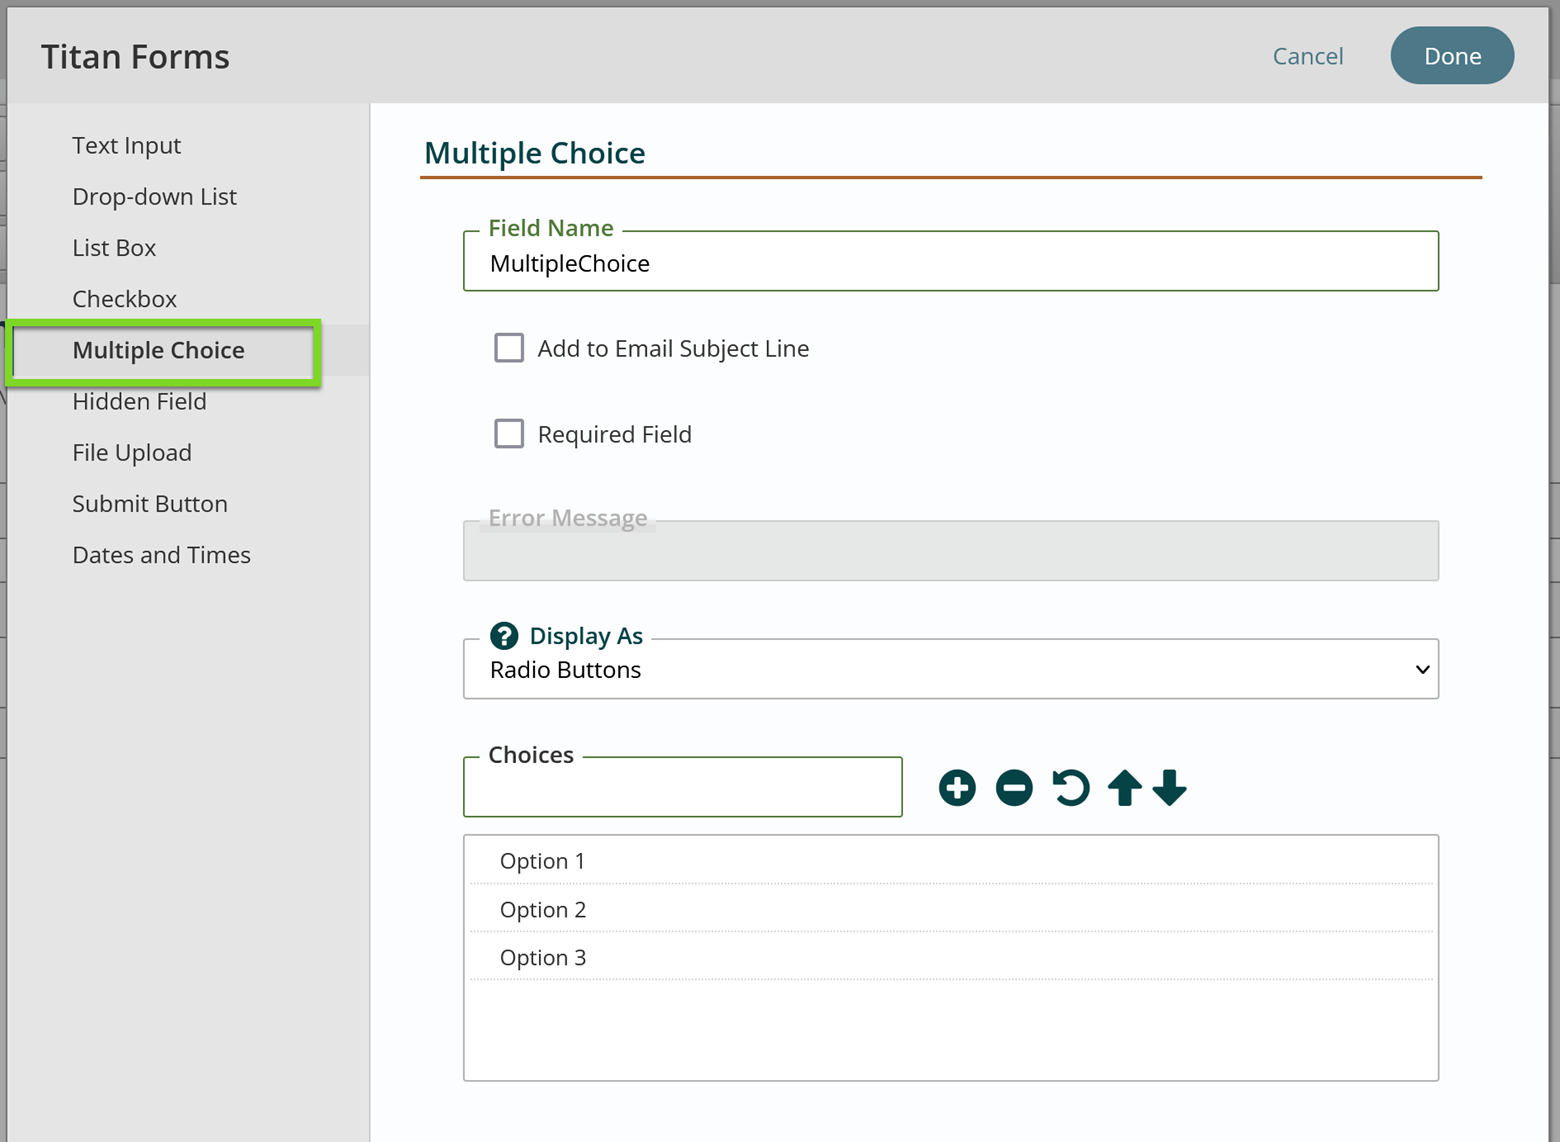
- Click on Multiple Choice in the left navigation list.
- Enter the field name and select the checkboxes if relevant.
- Choose how you would like the options to appear from the Display As drop-down menu. You can display options as radio buttons or check boxes.
- Enter the options into the Choices field, hitting + after each option. If you would like to rearrange the list, click on an option and hit the up or down arrow. Hit the – button to delete an option.
- Select Done. The Form's content screen will display.
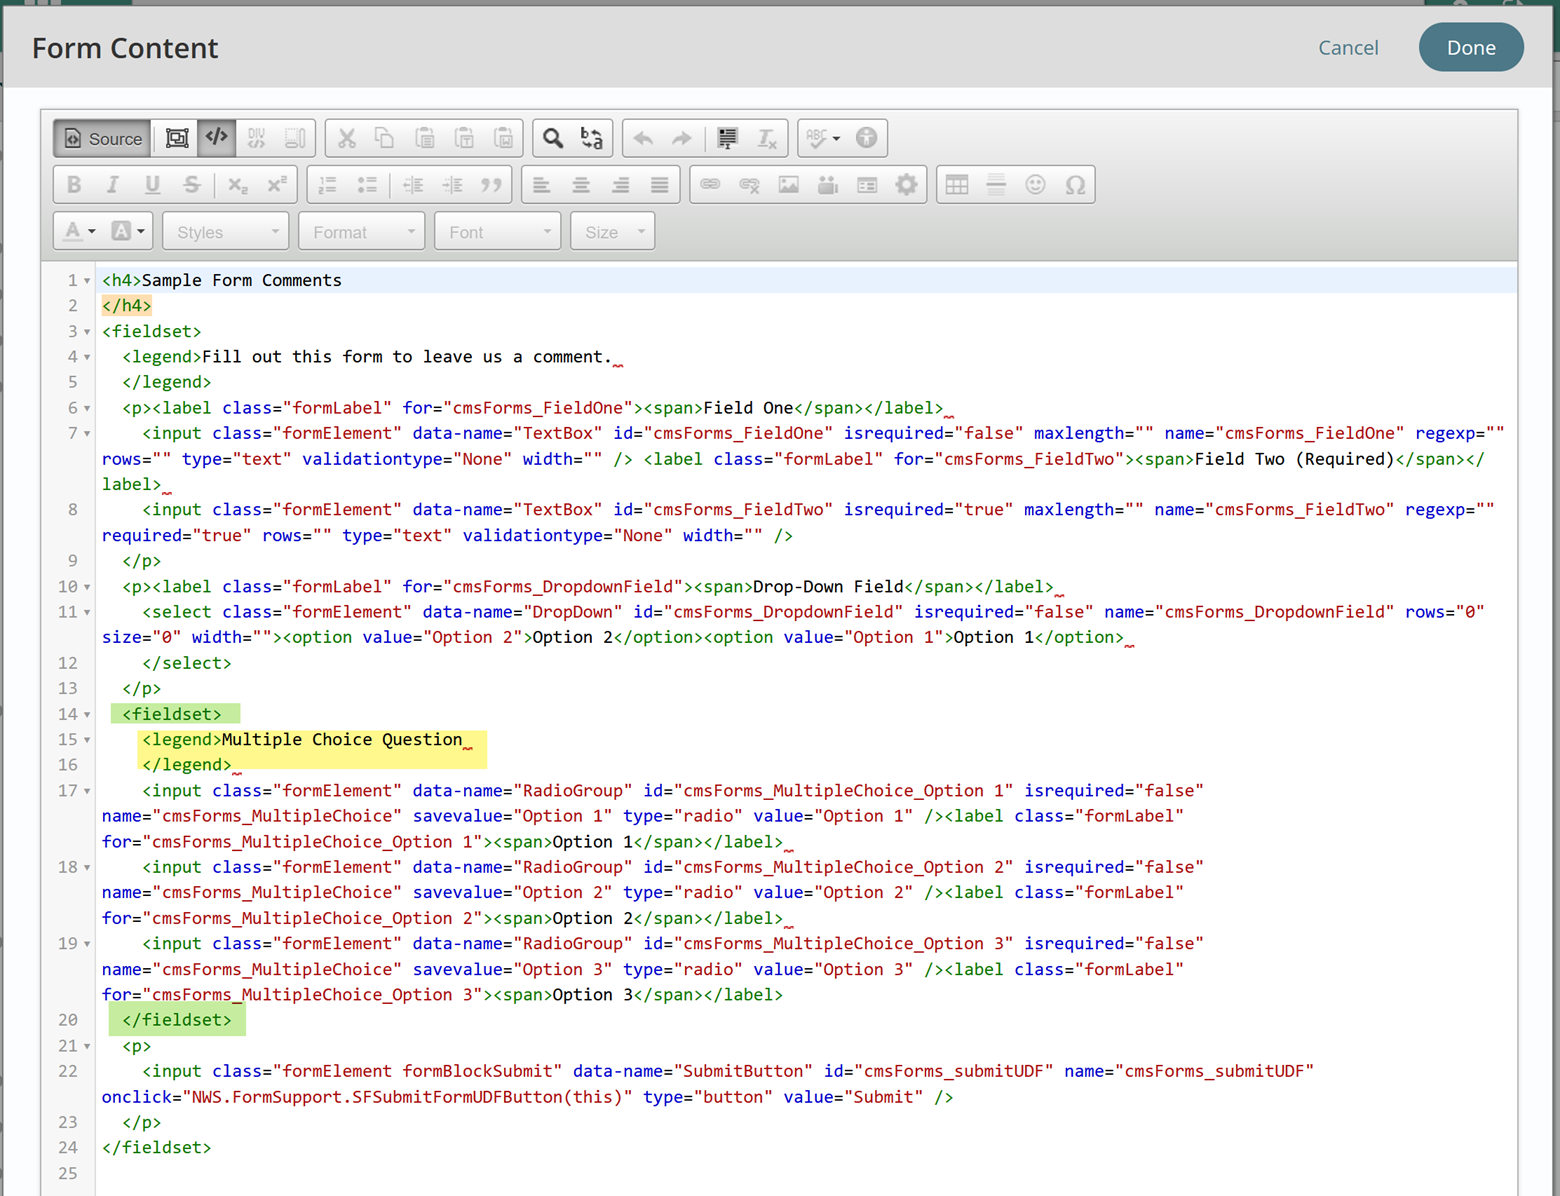
- Go into the source code. At the moment, text for multiple choice options has to be entered outside of the form editor, either in the WYSIWYG editor or in the source code.
- Add <fieldset> </fieldset> around the multiple choice options, and add in the text of the question as a legend.
- Click Done in the Form content, then Save or Publish from the App Ribbon.
Radio Group Field (Titan CMS V7.3 and Earlier)
In Titan CMS 7.4 and later, the radio group field is combined with the Check Box under Multiple Choice. In Titan 7.3 and earlier, follow the instructions below.
- Click the Titan Forms Icon in the WYSIWYG tool. The Text Box template will display.
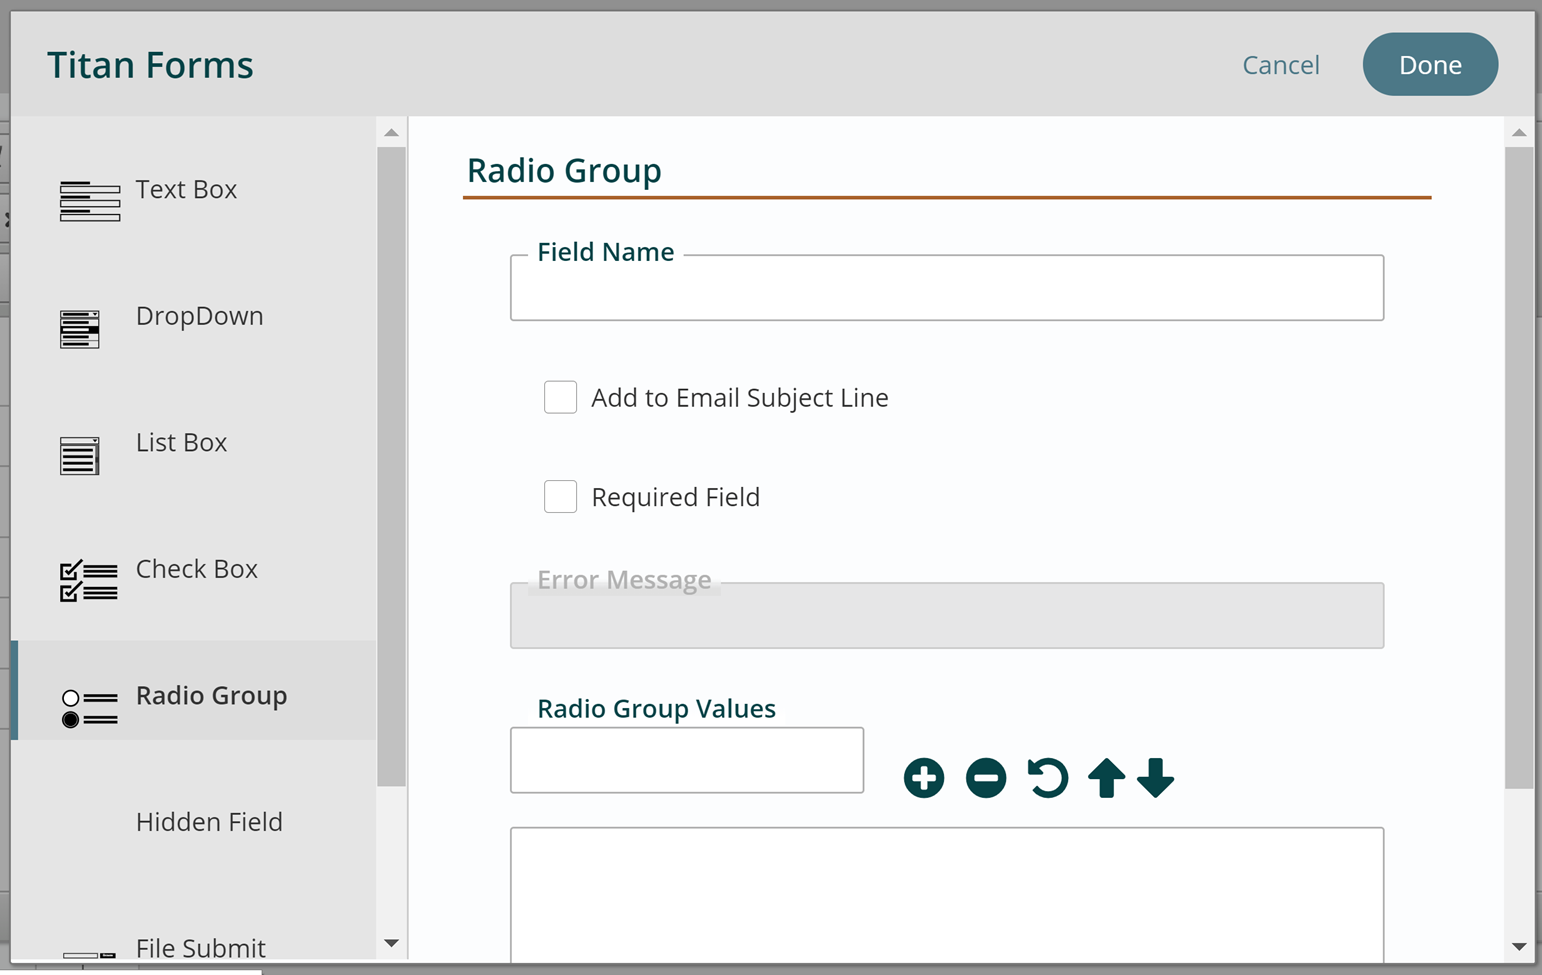
- Click on Radio Group in the left navigation list.
- Enter the field name and select the checkboxes if relevant.
- Enter the options into the Radio Group Values field, hitting + after each option. If you would like to rearrange the list, click on an option and hit the up or down arrow. Hit the – button to delete an option.
- Select Done. The Form's content screen will display, and the buttons will be out of order. Titan CMS is continuously being improved, and this is resolved in Titan CMS 7.4.

- Type out the question associated with the radio group above the buttons in the WYSIWYG editor.
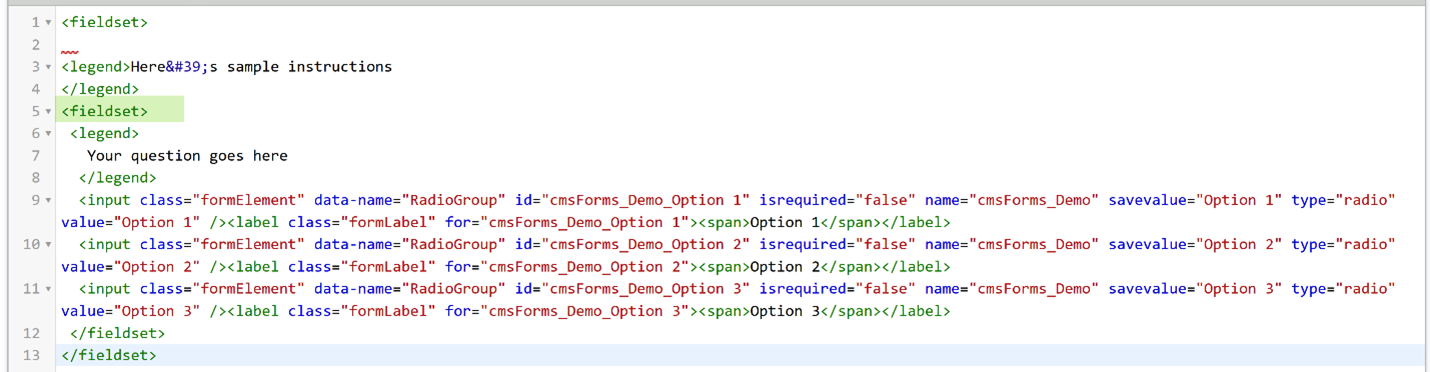
- For the moment, Radio Groups in 7.3 require you to go in to the source code to edit. It will initially look like this:

- The first thing you will do in the source code is to mark the radio group as a fieldset by adding <fieldset></fieldset> around the entirety of the group.
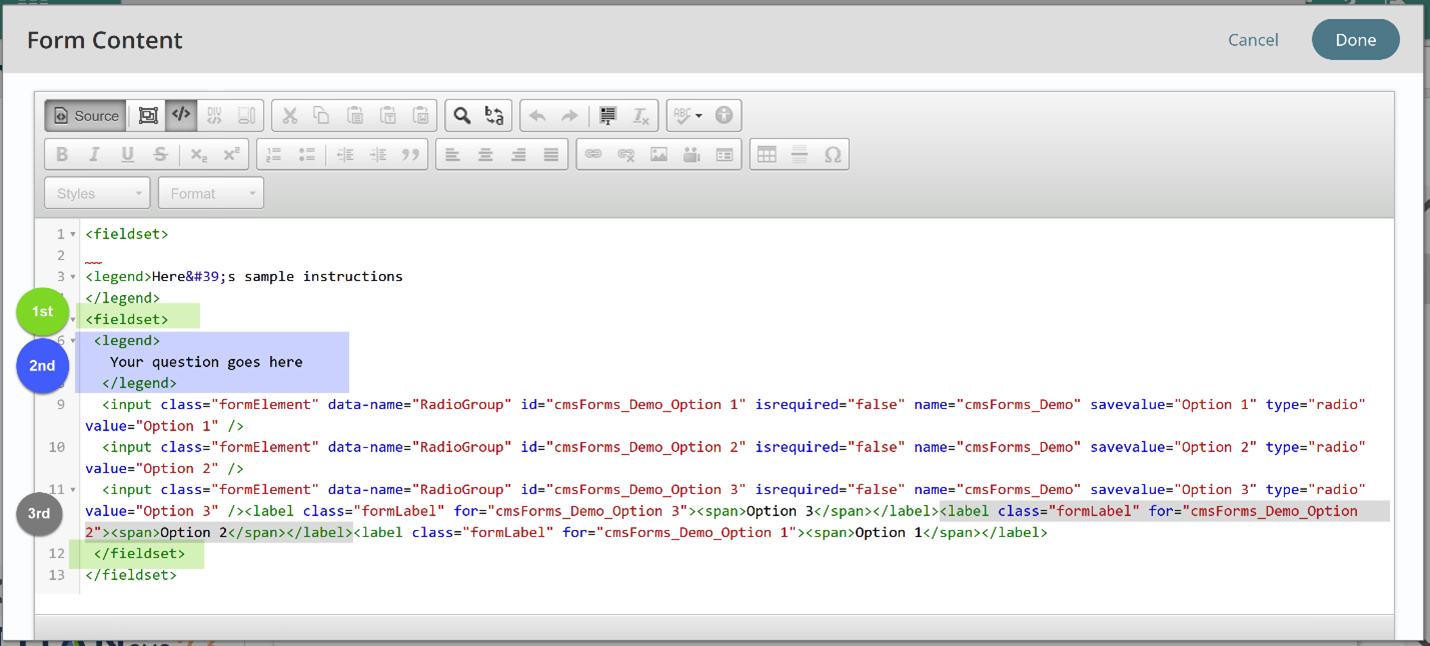
- Second, around the question, change the element from a <p> tag to a <legend> tag.
- Third, rearrange the labels for the buttons so that they are in the correct order.
- Click Done in the Form content, then Save or Publish from the App Ribbon.
Date and Time Field
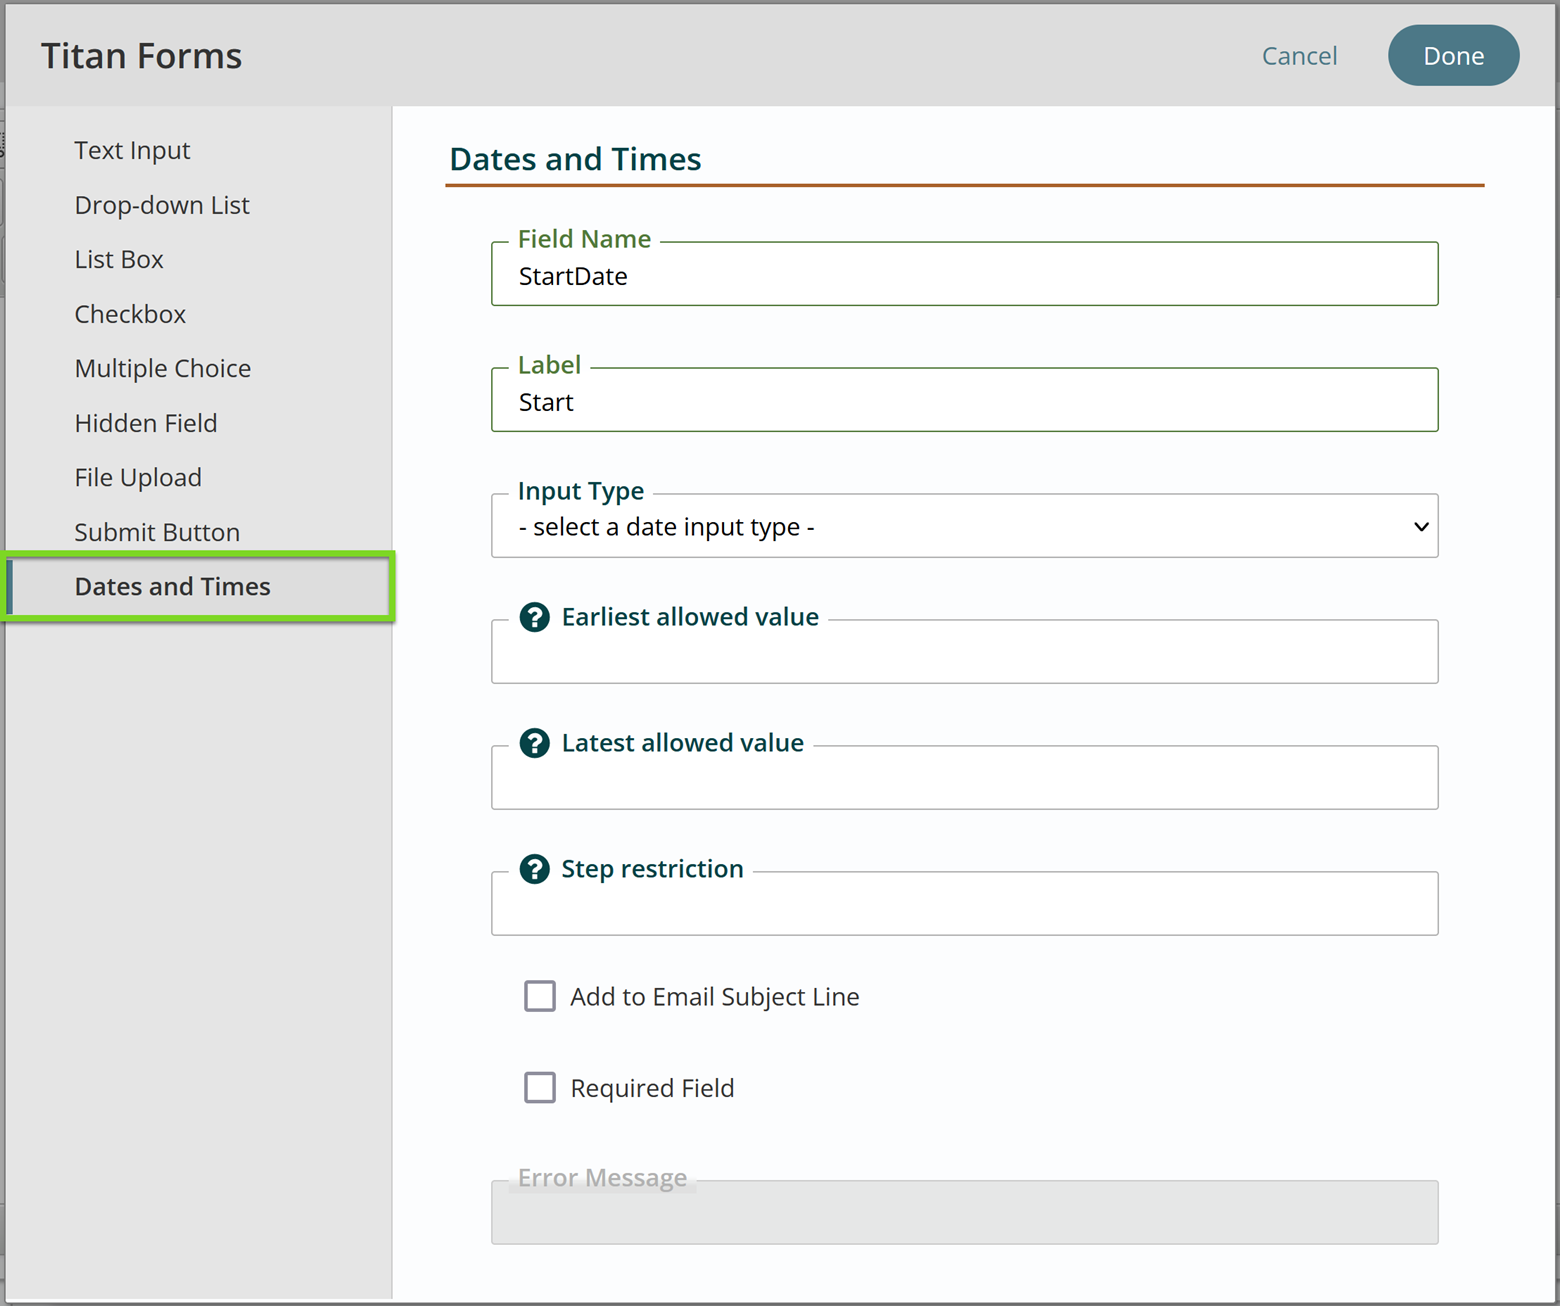
- Click the Titan Forms Icon in the WYSIWYG tool and select Dates and Times.
- Enter a field name and label.
- Select Date, Time, or Date and Time from the dropdown menu under Input Type.

- The date and/or time picker will be the default style of whatever browser it is viewed on.

- If desired, select an earliest and/or latest allowed value – a date or time before or after which dates or times cannot be selected. Format dates as yyy-mm-dd, time in a 24 hour format as hh:mm:ss, and datetime as yyyy-mm-ddThh:mm
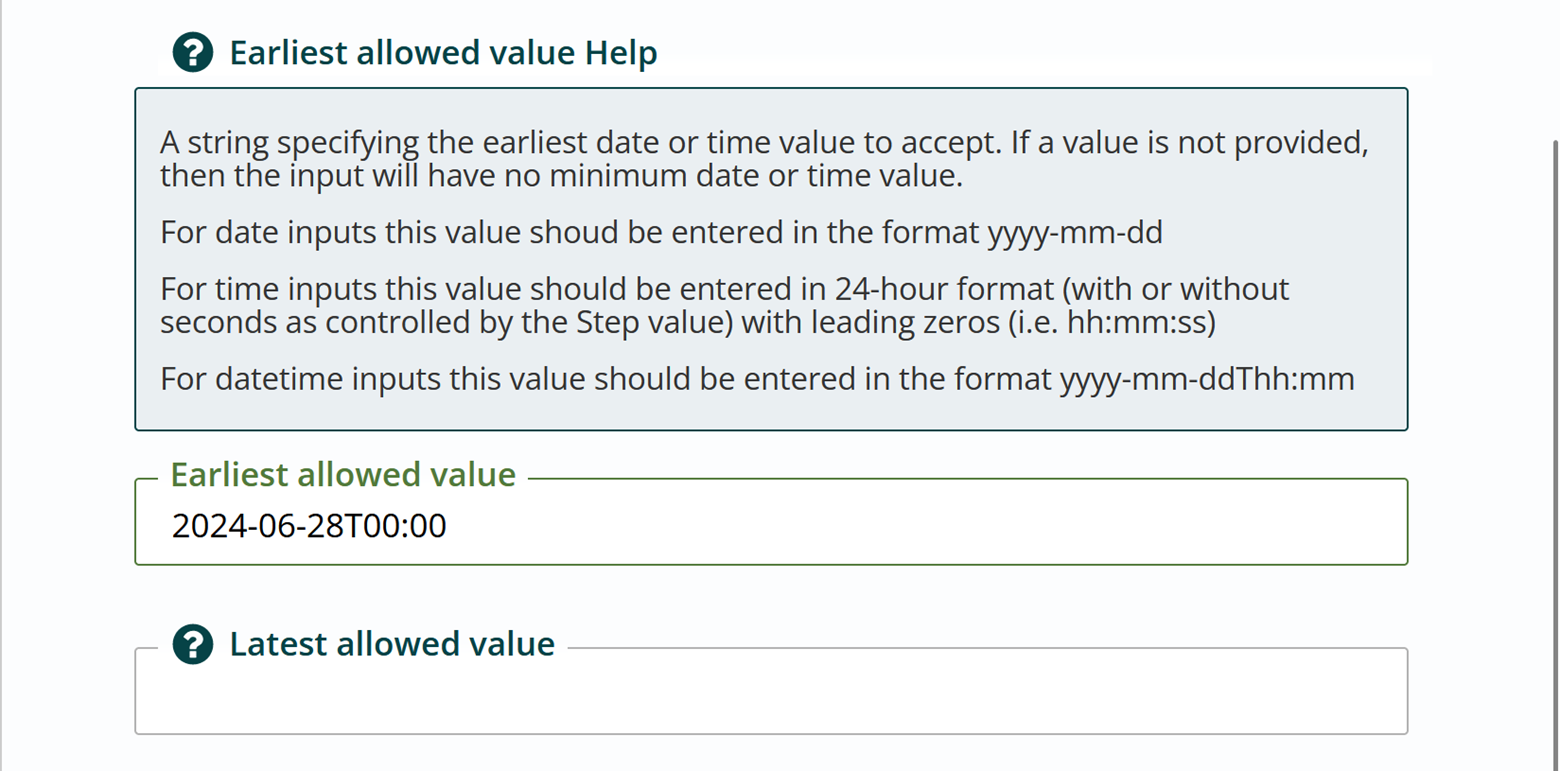
- Dates before earliest allowed value or latest allowed value will be greyed out.

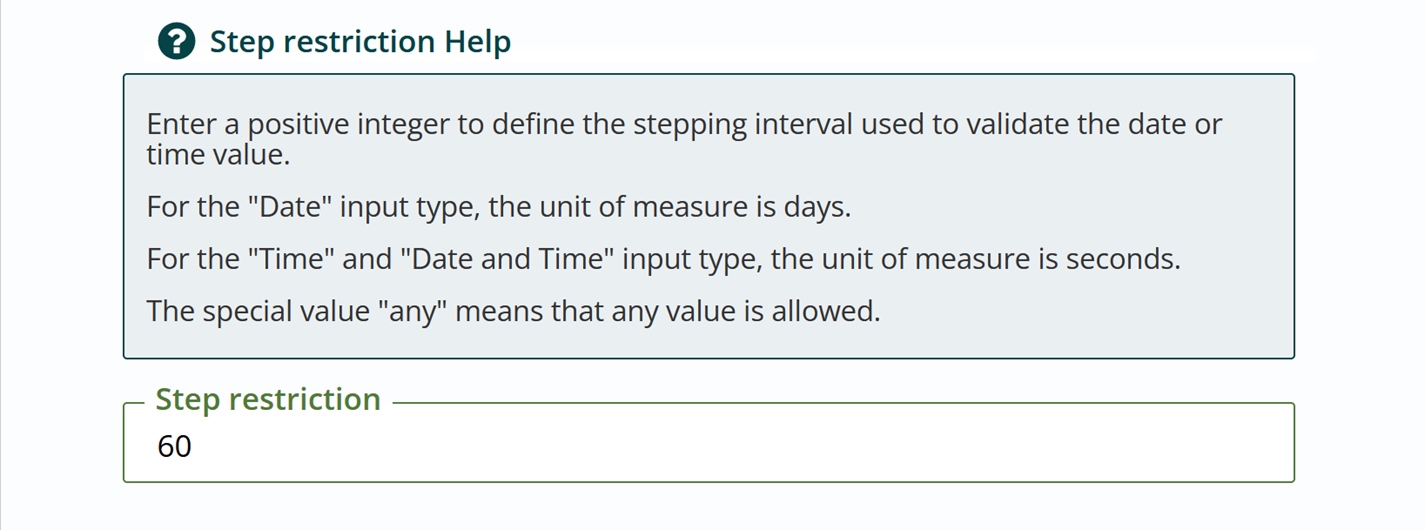
- If desired, enter a Step restriction. This is the amount the date or time will go up or down by if the user is using arrows to change the input.
- Click Done in the Forms Editor, then Save or Publish from the App Ribbon.
Hidden Field
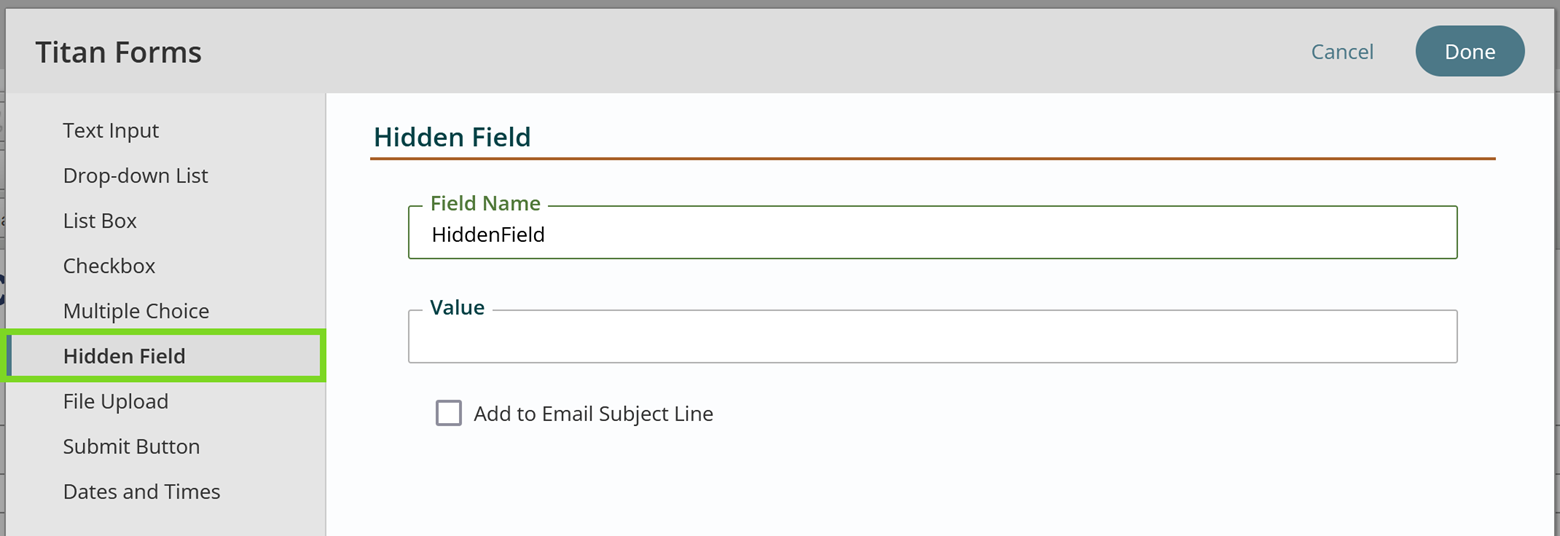
With the use of a special script, hidden fields of information may be passed to a 3rd party website (user doesn't see). The Hidden Field uses the OnLoad Function field in the Forms Editor block with a special script created by developer. Contact your Titan Administrator for assistance.
File Upload Field
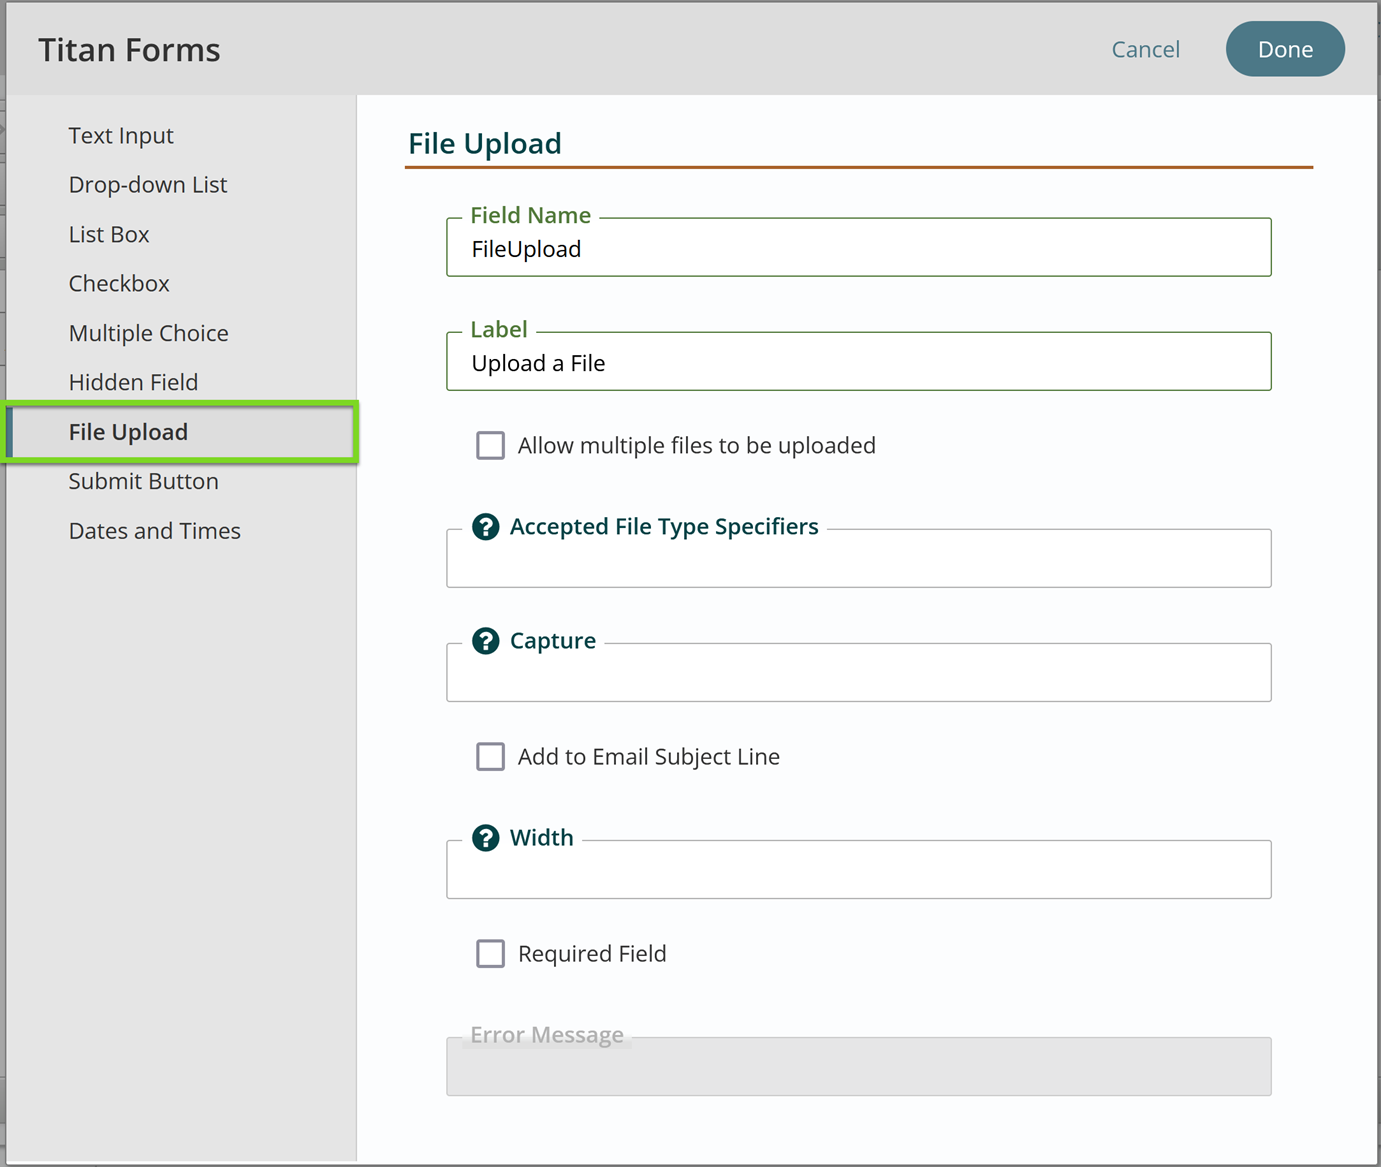
The File Submit Titan Form field allows a user to upload a file through your form on your website.
- Click the Titan Forms Icon in the WYSIWYG tool and select the File Upload option.
- Enter the field name, label, and any other fields as necessary.
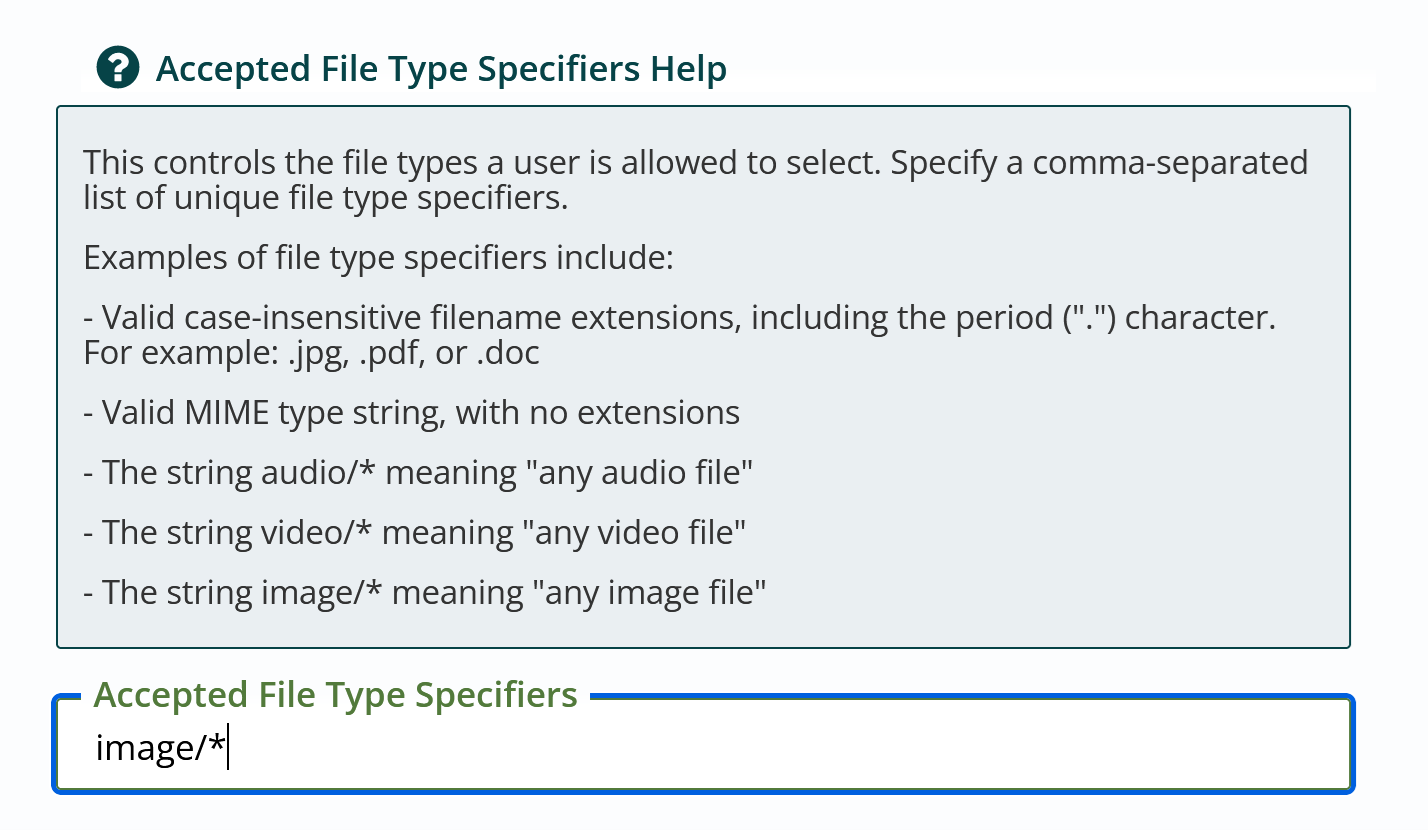
- Accepted File Type Specifiers allows you to restrict what types of files a user can upload. Specify the file extensions in a comma-separated list, or enter a class of files by using the file type category and “/*”. For example – image/*
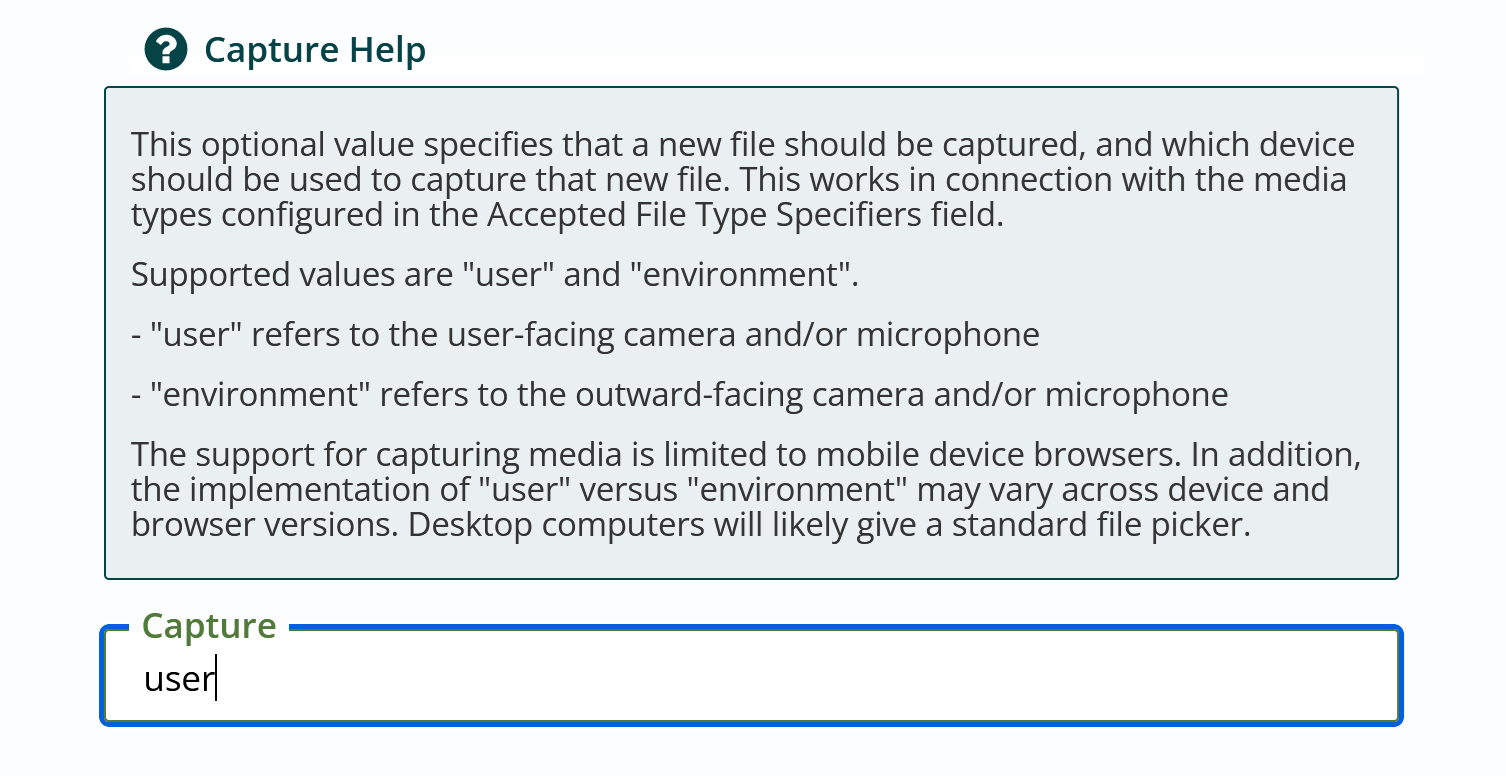
- Capture Help will activate the user’s device to record audio, video, or images. Enter “user” to launch the user-facing camera or microphone, or “environment” to launch the outward-facing camera or microphone.
- Forms with a file upload field cannot use AJAX Submit. Under Form Submission Action, select either POST to TitSan or POST to Remote URL.
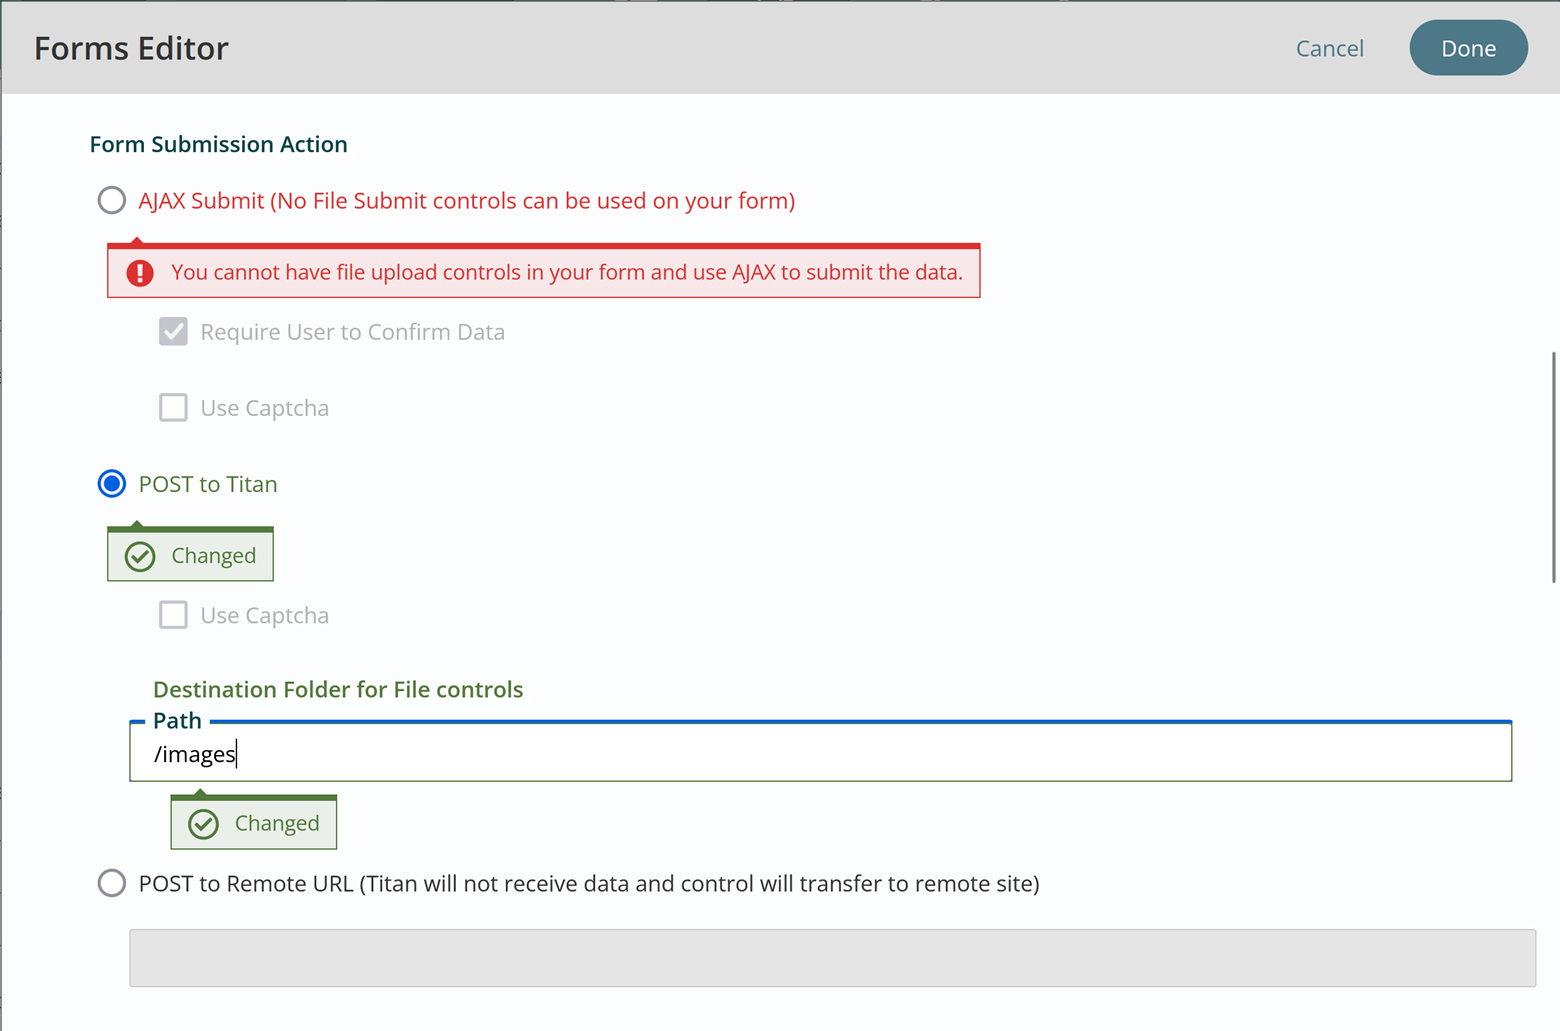
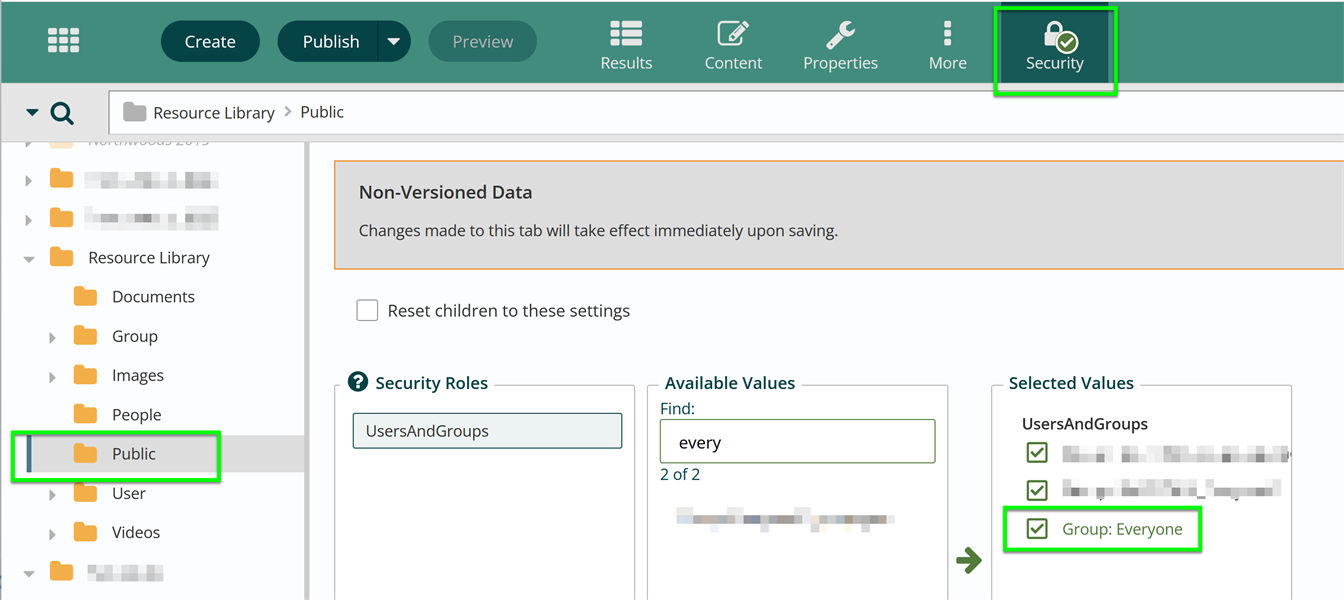
- If you have chosen POST to Titan, you must manually type in the destination path for uploaded files. The destination folder must have security set to “Everyone.”
- Hit Done in the Forms Editor, then click Save or Publish from the App Ribbon.
Related Office Hours - June 2024
Get Support
Expert Titan CMS Support is just a phone call or email away!
Titan CMS Help Desk
9a.m.-5p.m. CT Mon-Fri
Tel: 414-914-9200
Email: [email protected]