Comments and Ratings
Comments and Ratings allow Titan CMS users to:
- Create and configure Comment and Rating Templates
- Enable Comment and Ratings Templates to be used on a site
- Turn on Comments on one or several files, pages, or dta item
- Monitor/manage Comments
Check with your Account Director or Business Manager at Northwoods to discuss using this Module.
Titan Administration Module:
Commenting and Rating Templates can be created using the Titan freeform editor in Titan Administration module. Select your Comments and Ratings icon in the navigation pane on the left. The administrator can start with default forms already available in Titan CMS. If you prefer you can create custom comment forms with standard Titan Comment fields for Name, Email, Rating and Comment. Additional fields can be added to the form using standard Titan CMS Forms Editor functionality. Just Click Create-
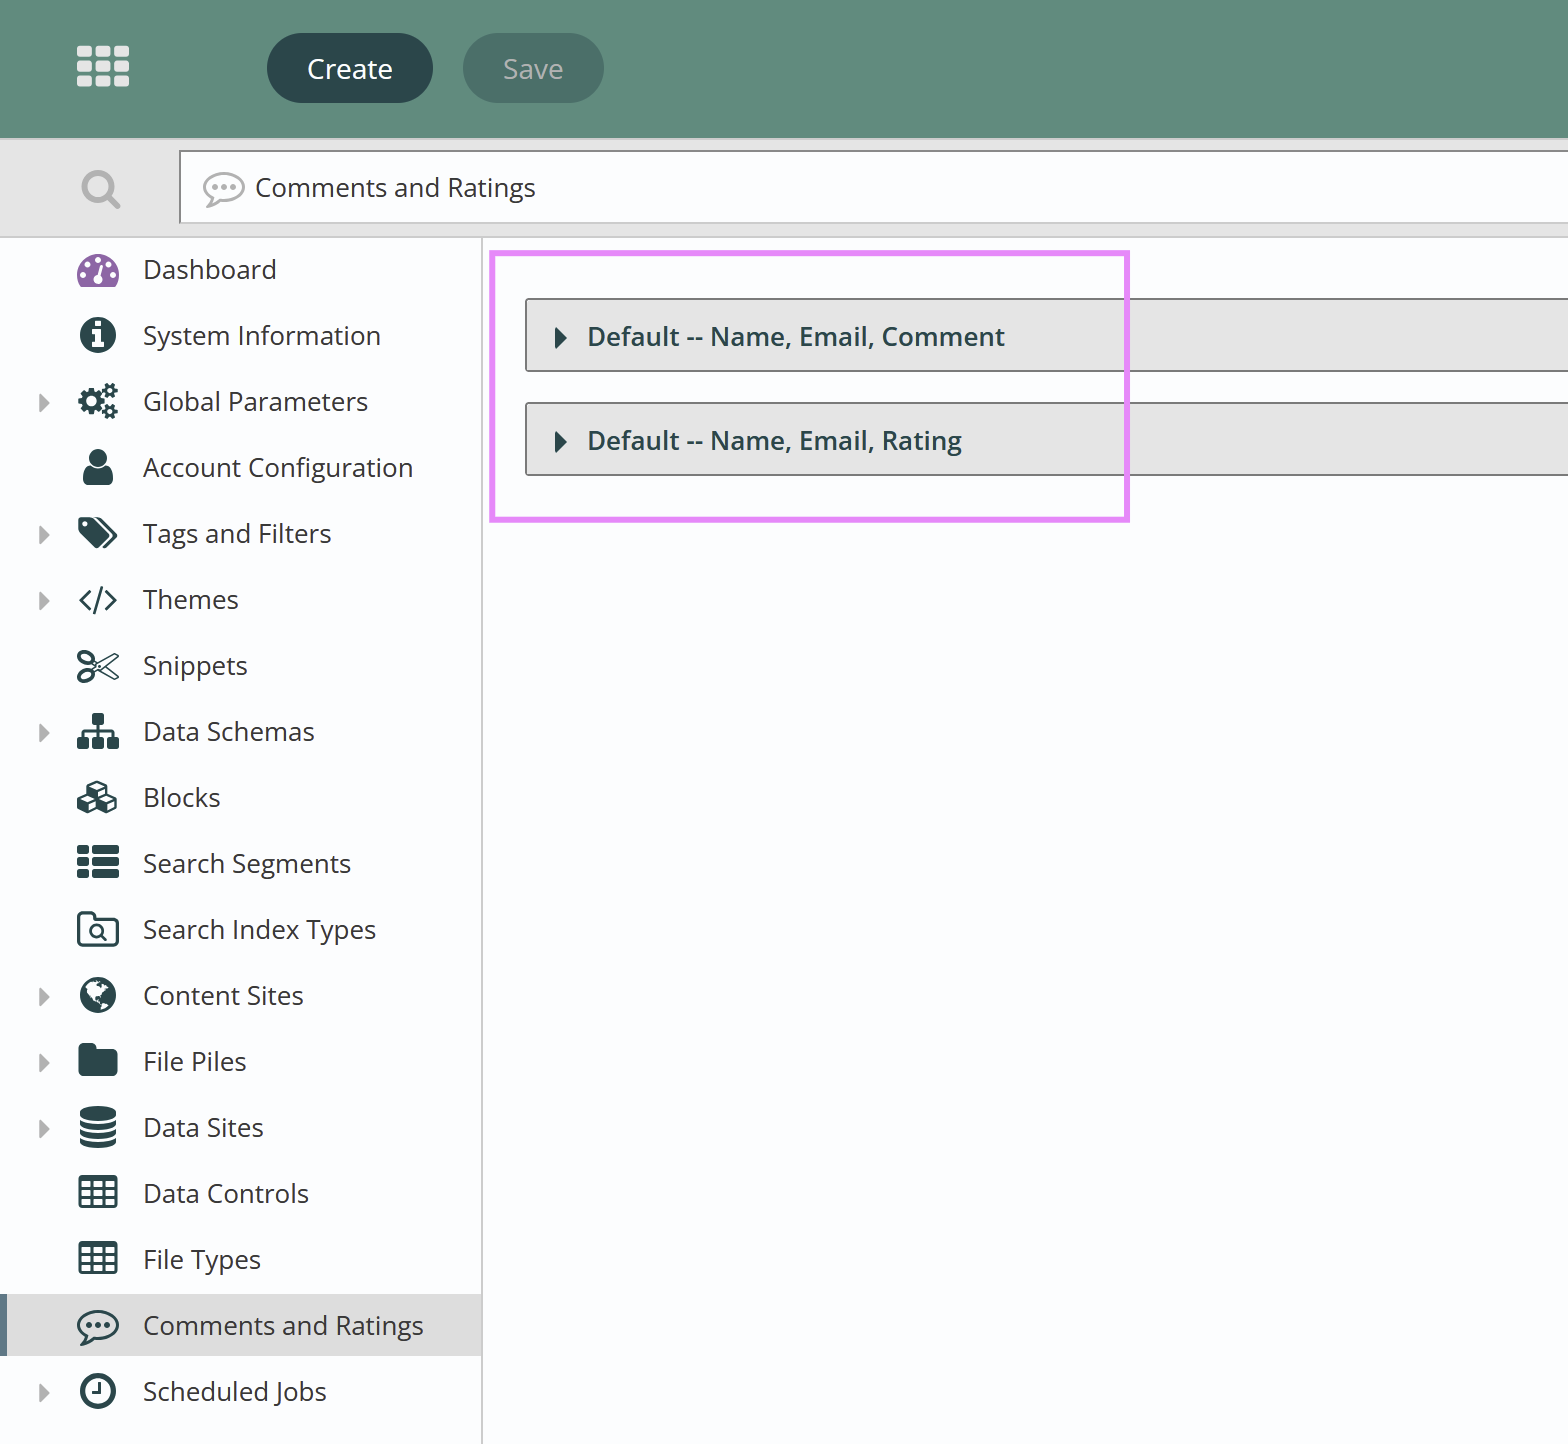
See your original Titan CMS documentation for details on the Forms Editor block.
Click Create to make your own template; name your template and select to copy an existing or start from scratch.

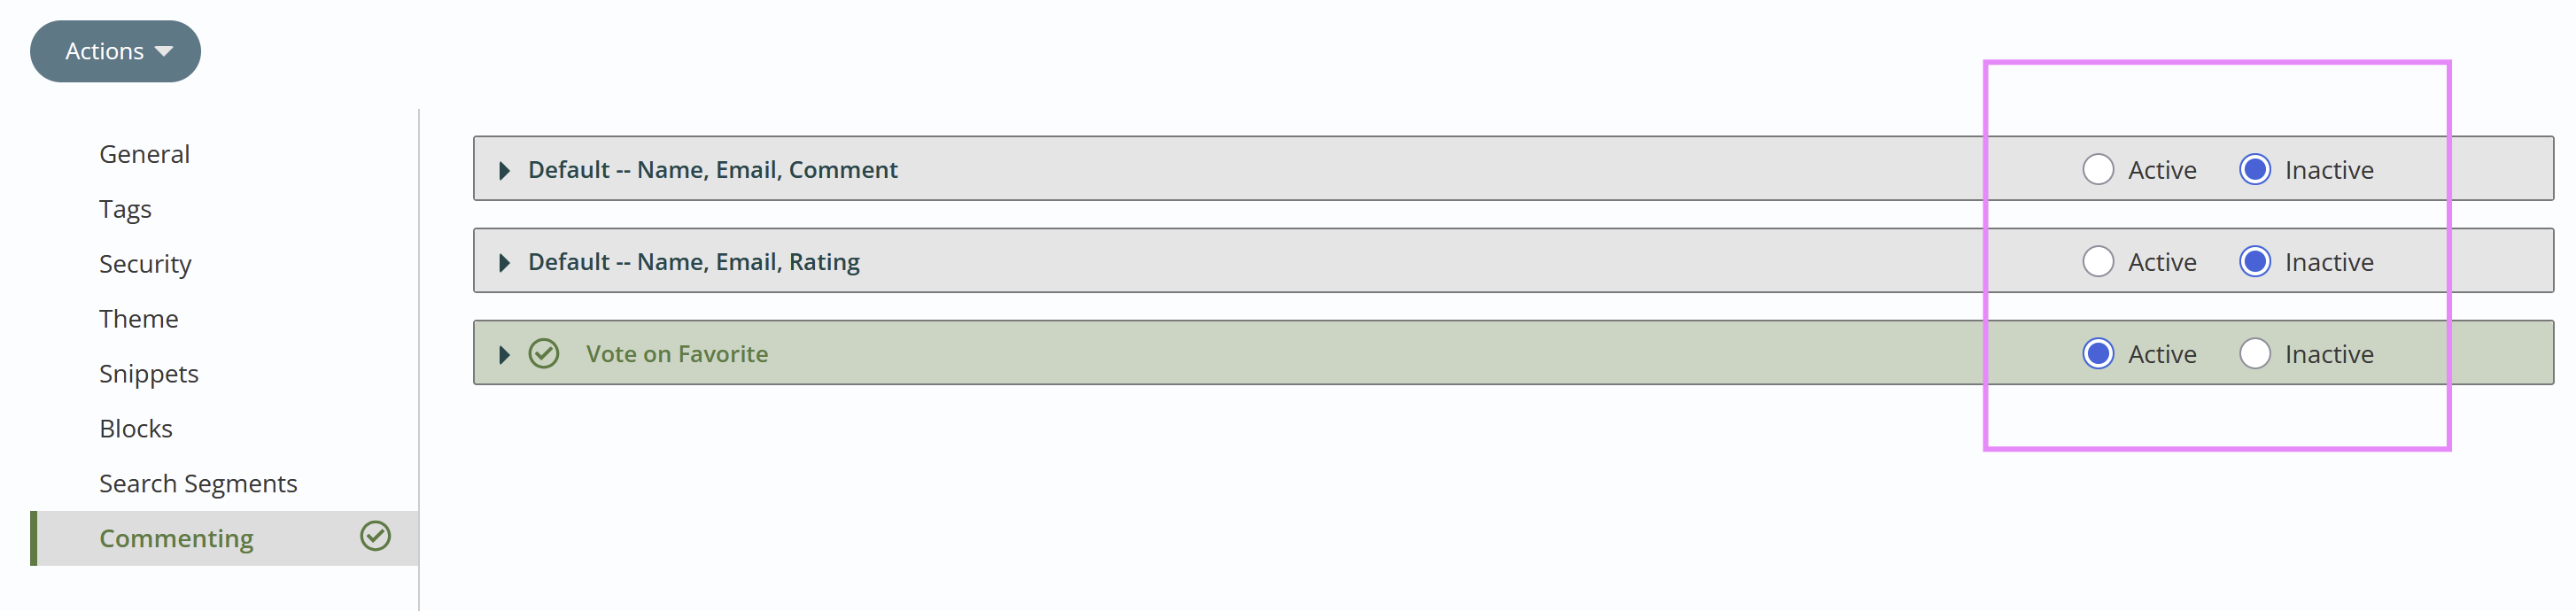
Once a template has been created in Titan Administration module, you can activate the template on one or more Titan sites (globes). In Titan Administration under your globe select the comment/rating icon. Then select the form you want to activate. There are several configurations that can be applied per globe on the form you created.
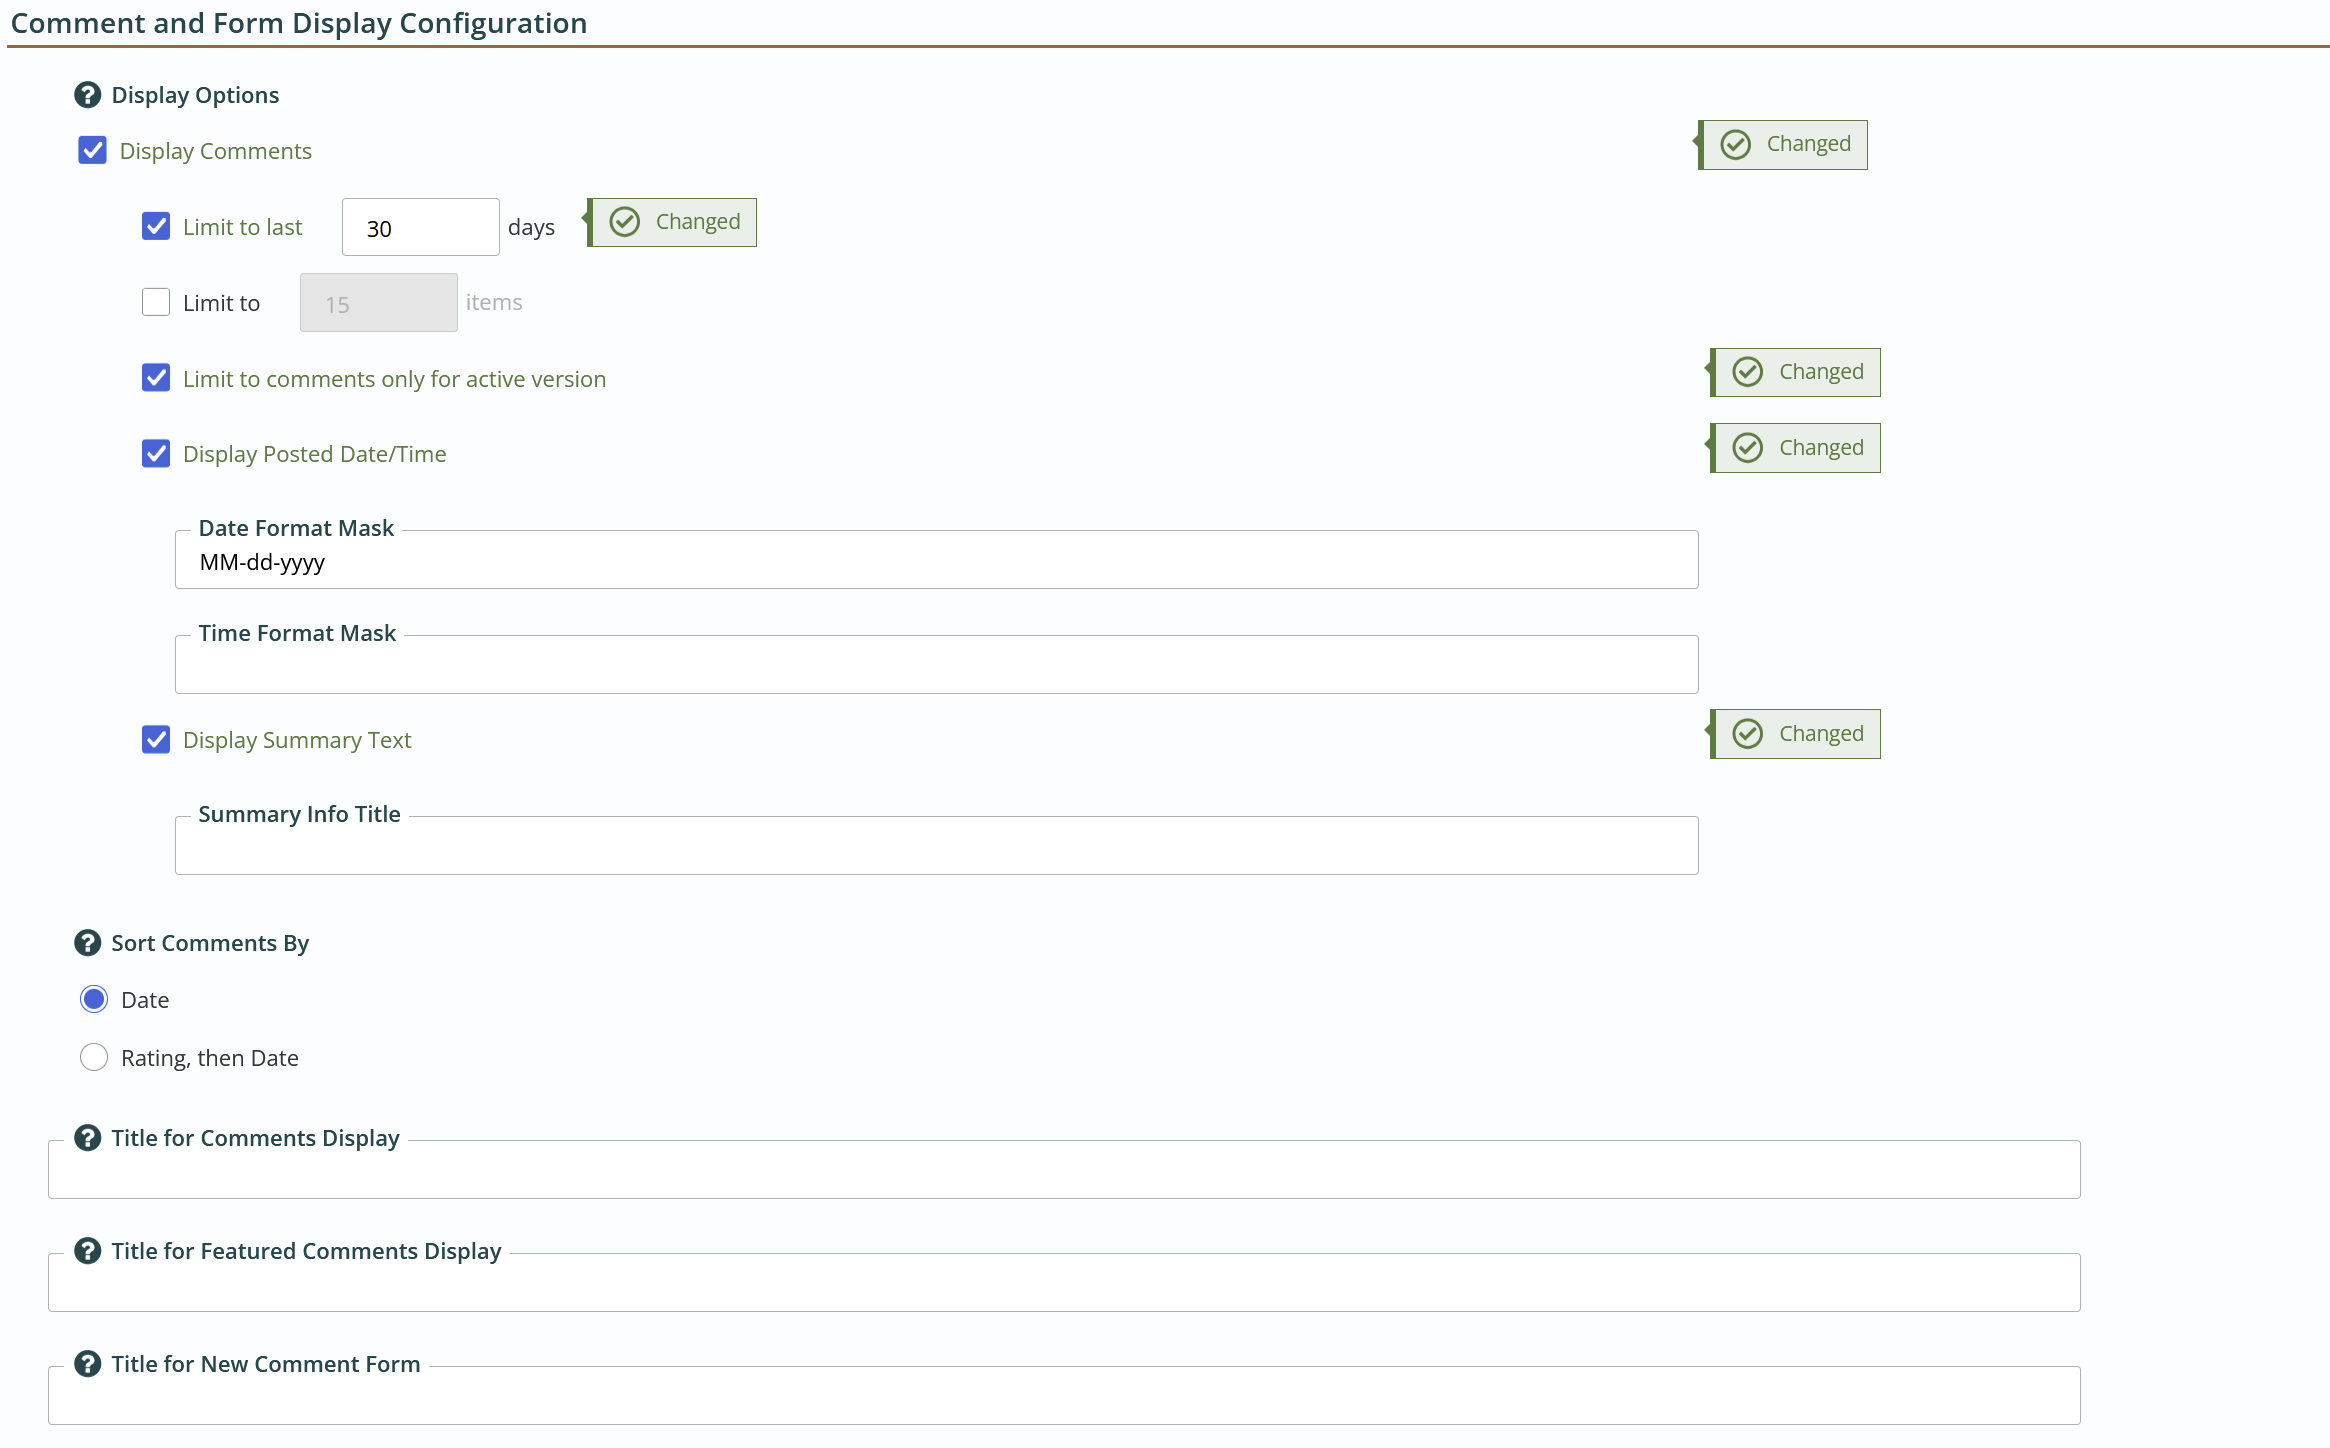
Commenting and Rating Display Configurations
Once activated in your globe, open your template and you can configure options such as displaying comments on the site (limiting on days and/or number of comments), providing summary rating information (average rating and total ratings), sorting, and titles.
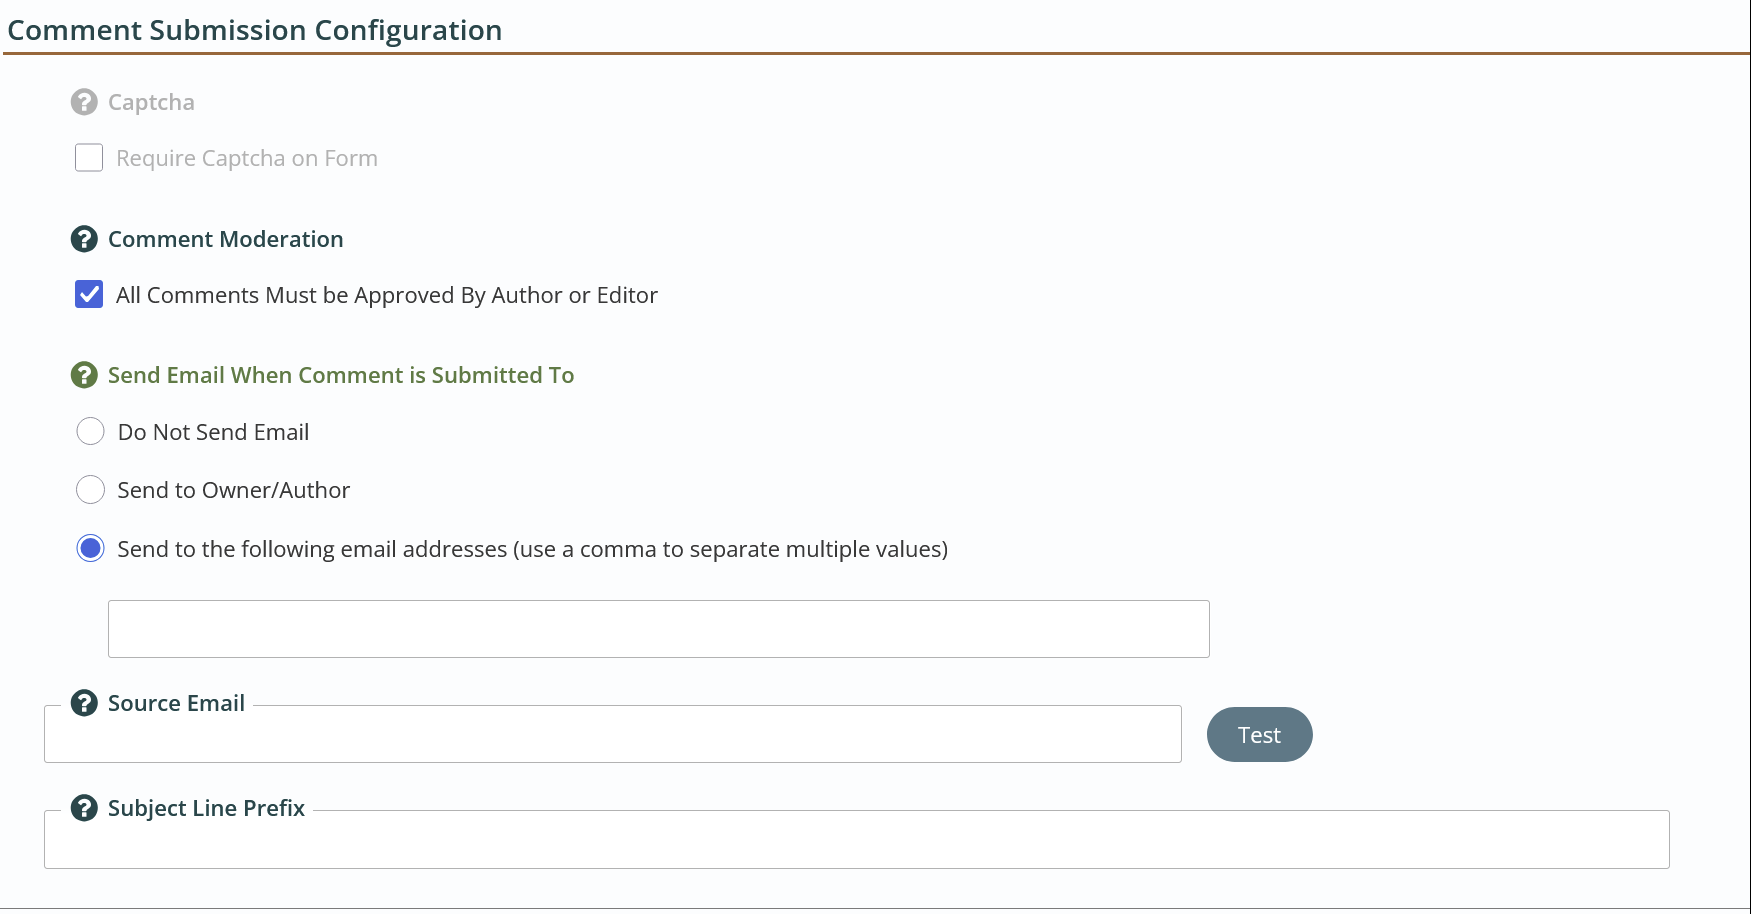
You will also configure your submissions:
You can use reCaptcha (distorted image to prevent spam), configured email notification and turn on or off moderation. Turn monitoring (approval) on and off. Email notifications and subjects.
Save and Refresh your workstation before returning to the Web Content Management module.
Web Content Module:
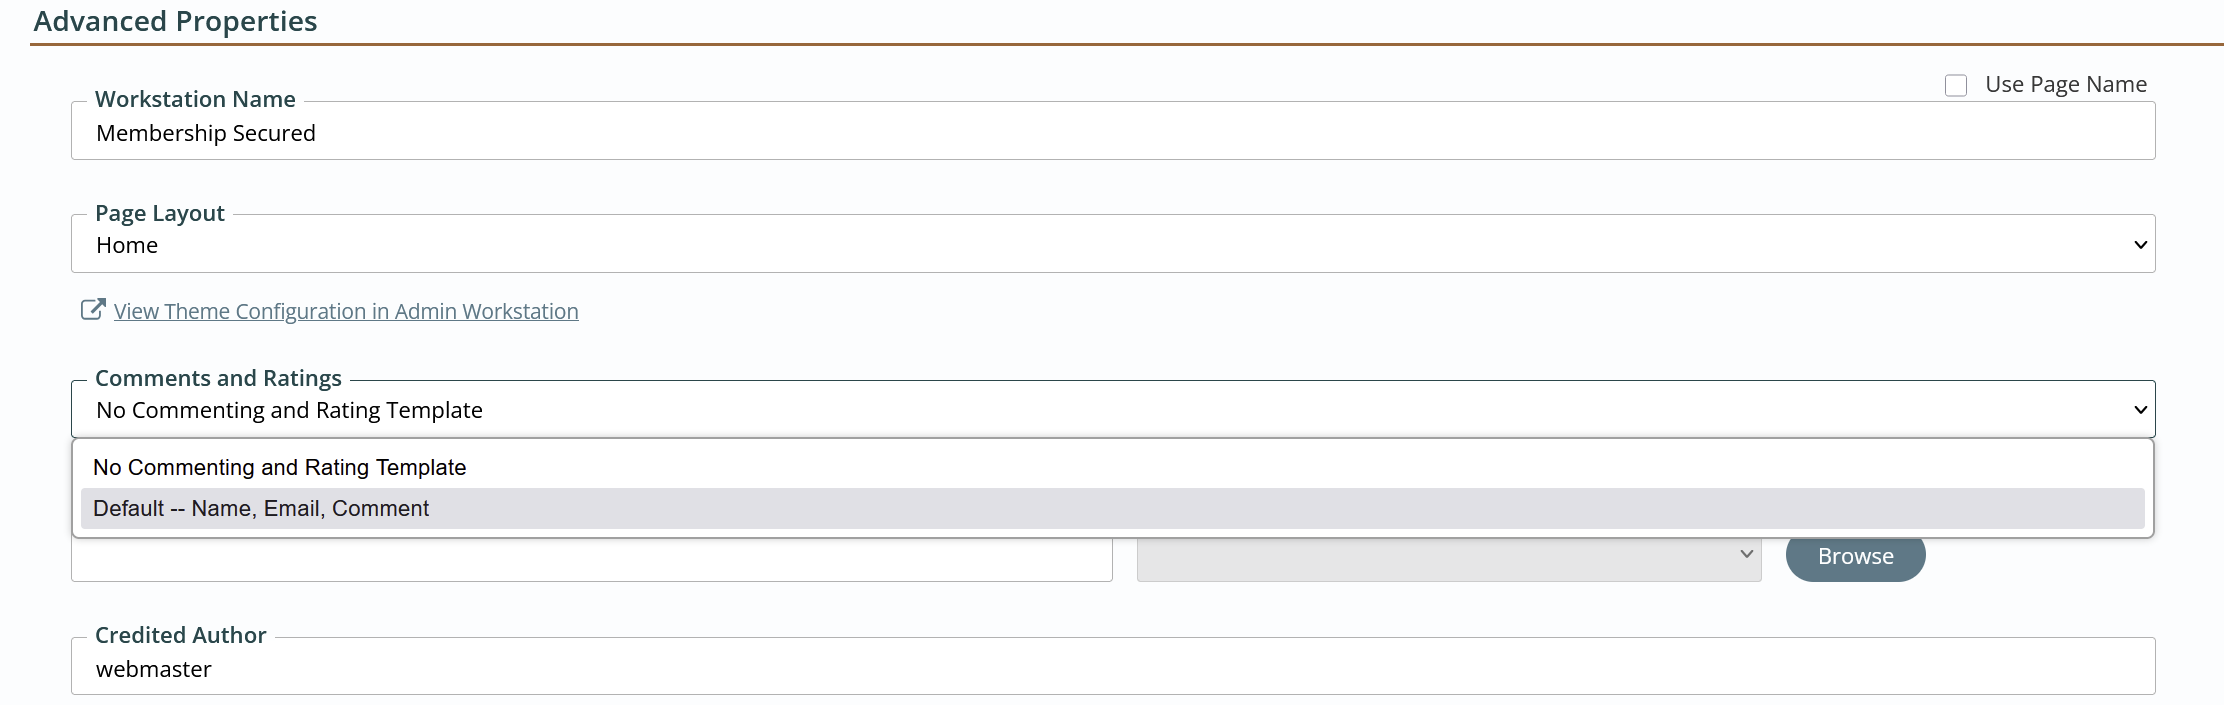
Now in your Web Content Module you can turn on your Comments and Ratings Template on one or more pages, files, data items in the Advanced properties.
The author/editor can enable a comment template that has been activated on a globe to be used on one or more pages in the site.
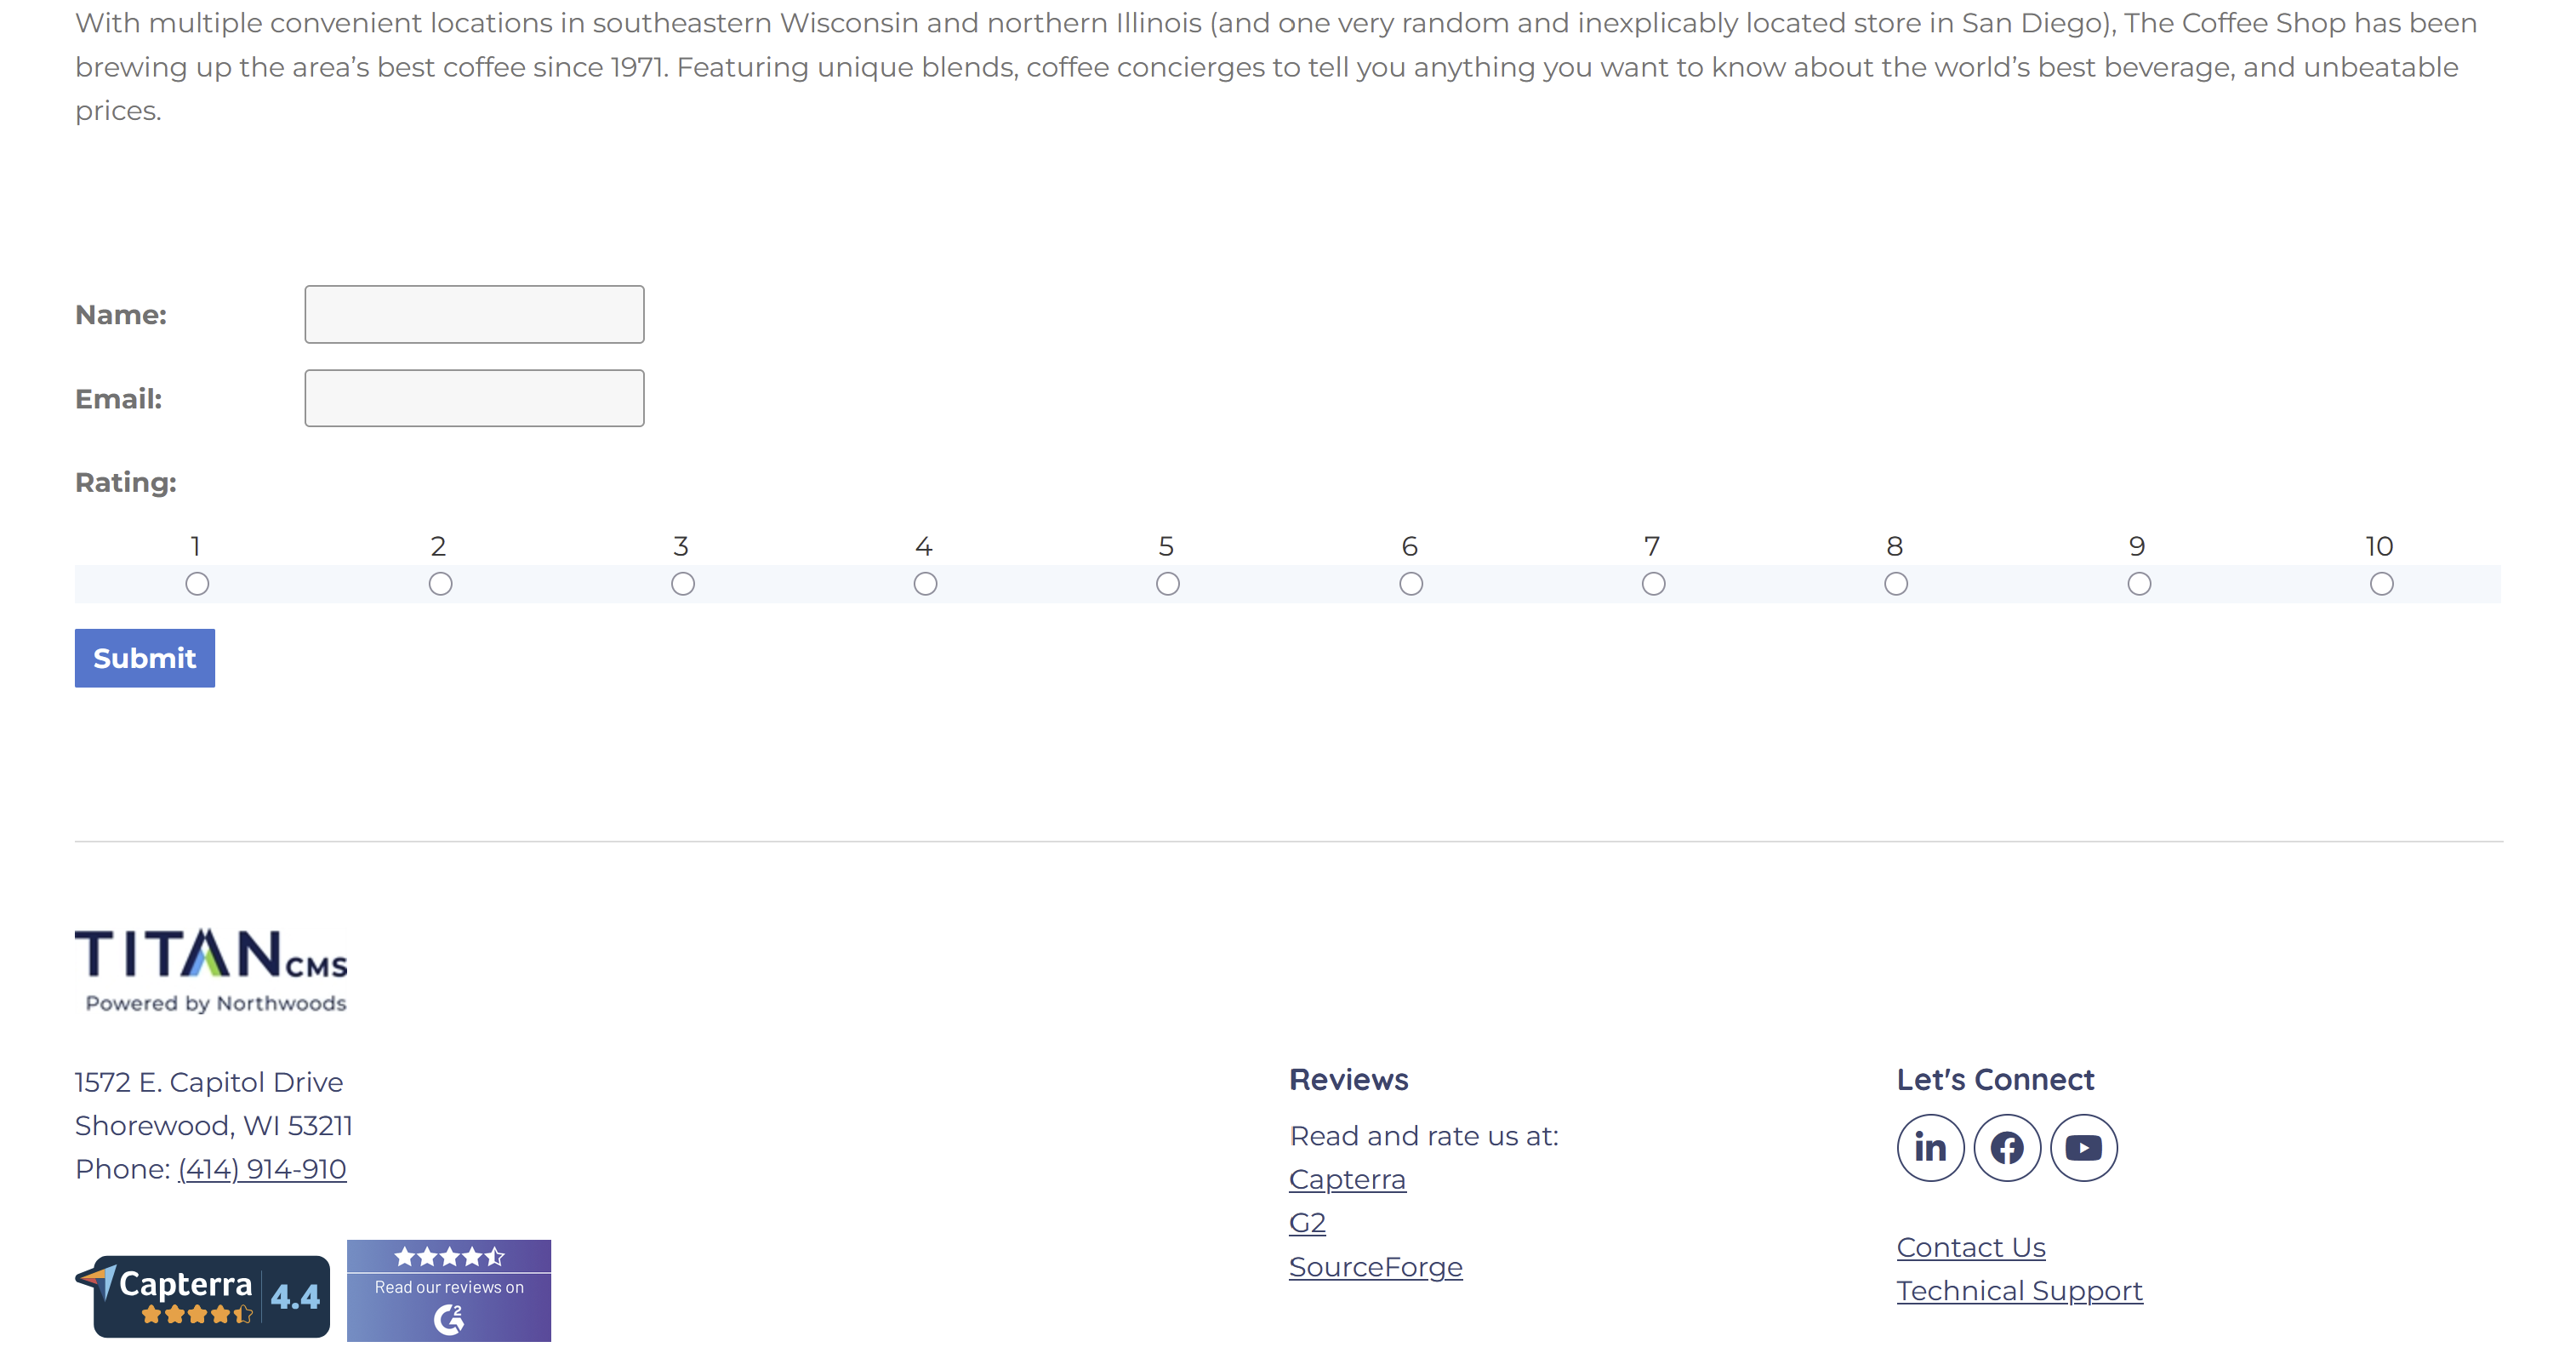
Once activated they will in most use cases show at the bottom of the page ( you will likey need some styling contact us for assistance):
Managing Comments:
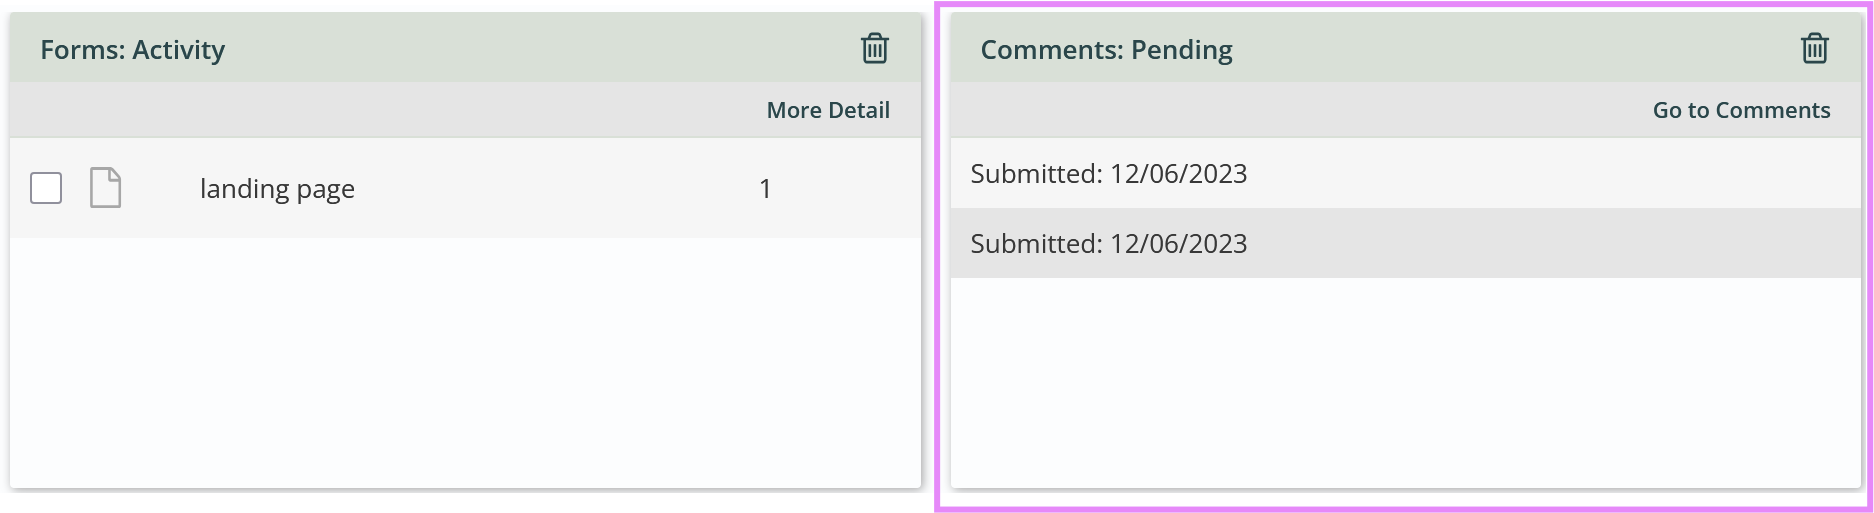
When the comment and rating template is enabled on a page, in the Content Management Workstation module, end user feedback is accumulated in the Commenting Workstation module for review/approval by an author/editor. Your Dashboard will show you if there are comments Pending. You can click Go to Comments link or choose the Commenting in the Module.
You can also confgure the Scheduled Jobs Status Emailer task to get emails in your inbox for montioring and managing comments.
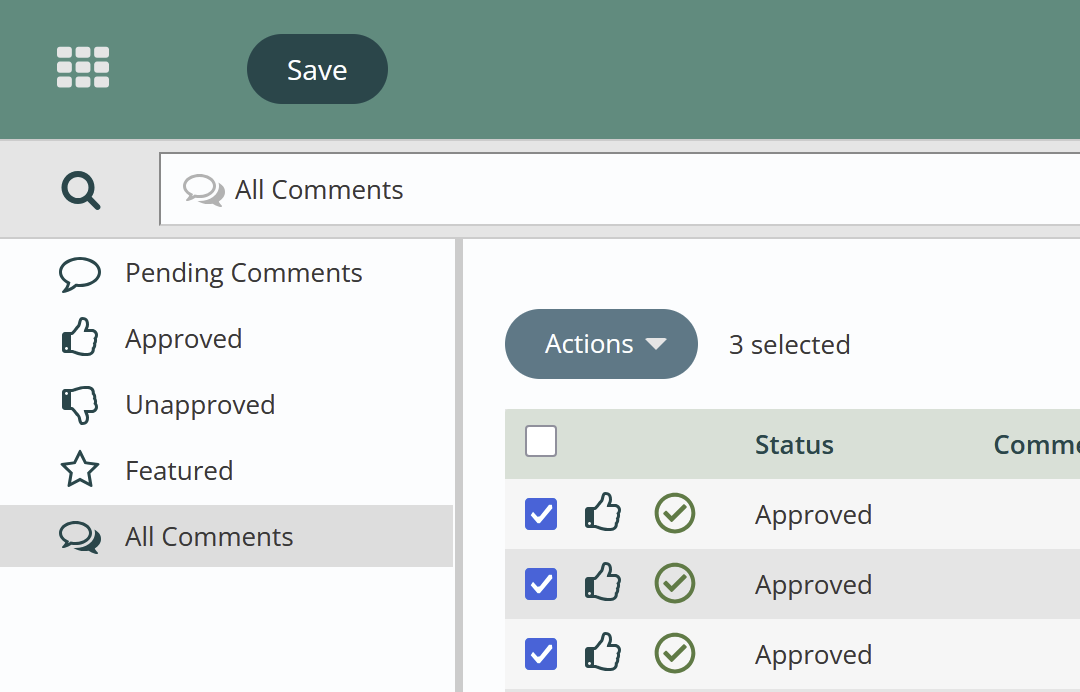
Titan CMS allows the author/editor/webmaster to manage comments in the system view by:
- Pending Comments
- Approved
- Un-approved
- Featured
- All Comments
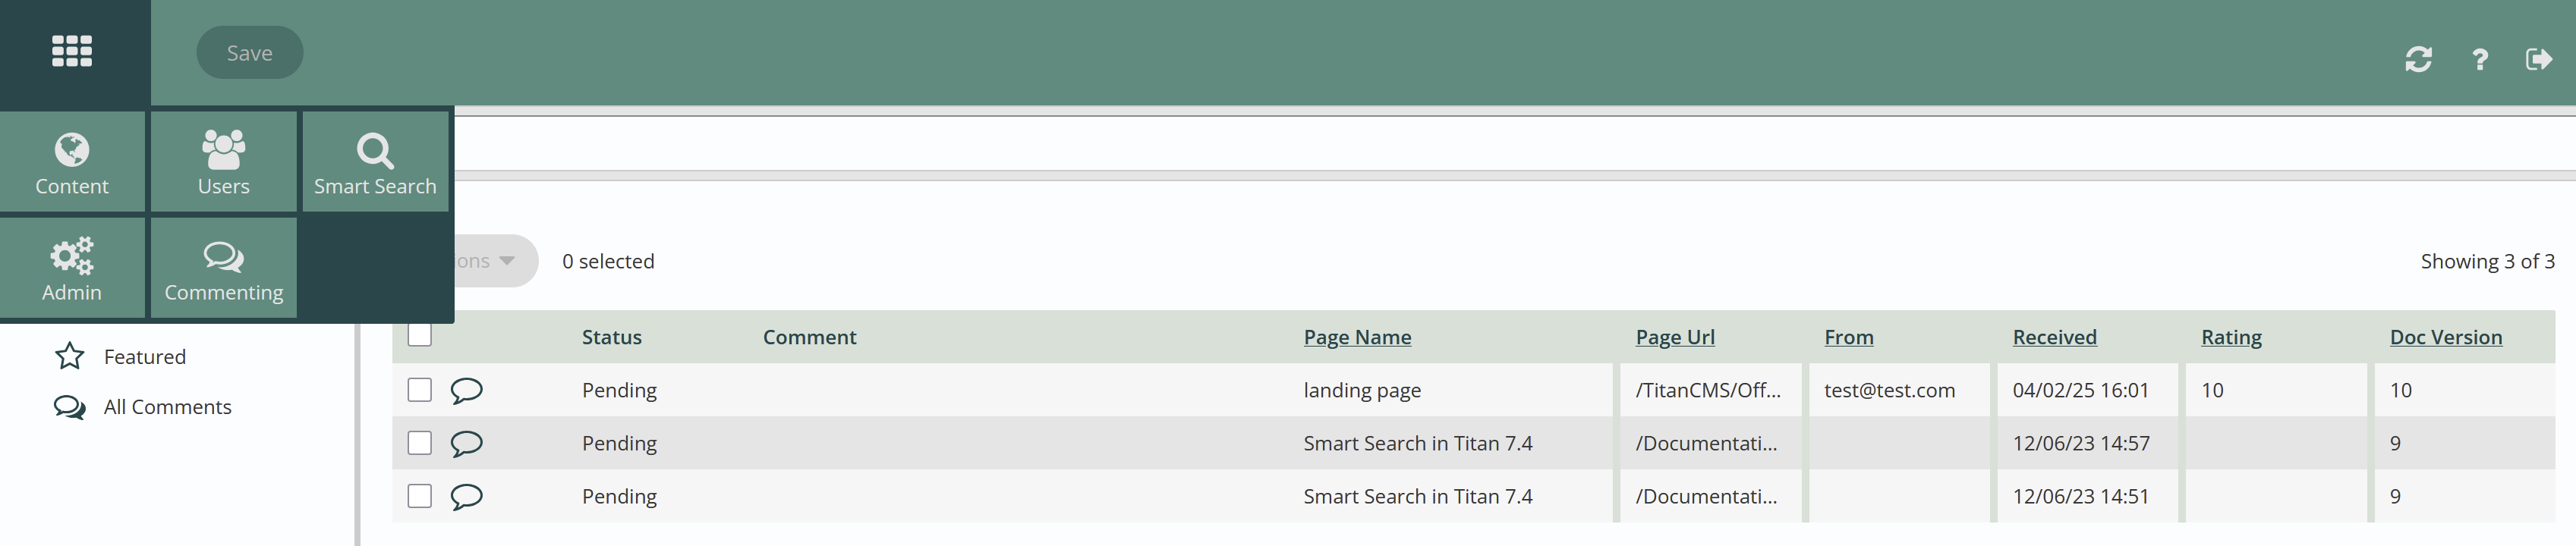
The default displays any Pending Comments awaiting your review. In the Nav tree on the left you can switch your selection to display approved, unapproved, featured, or all comments. The display columns of Page name, Page URL, From, Received, Rating, and Doc version are sortable on click.
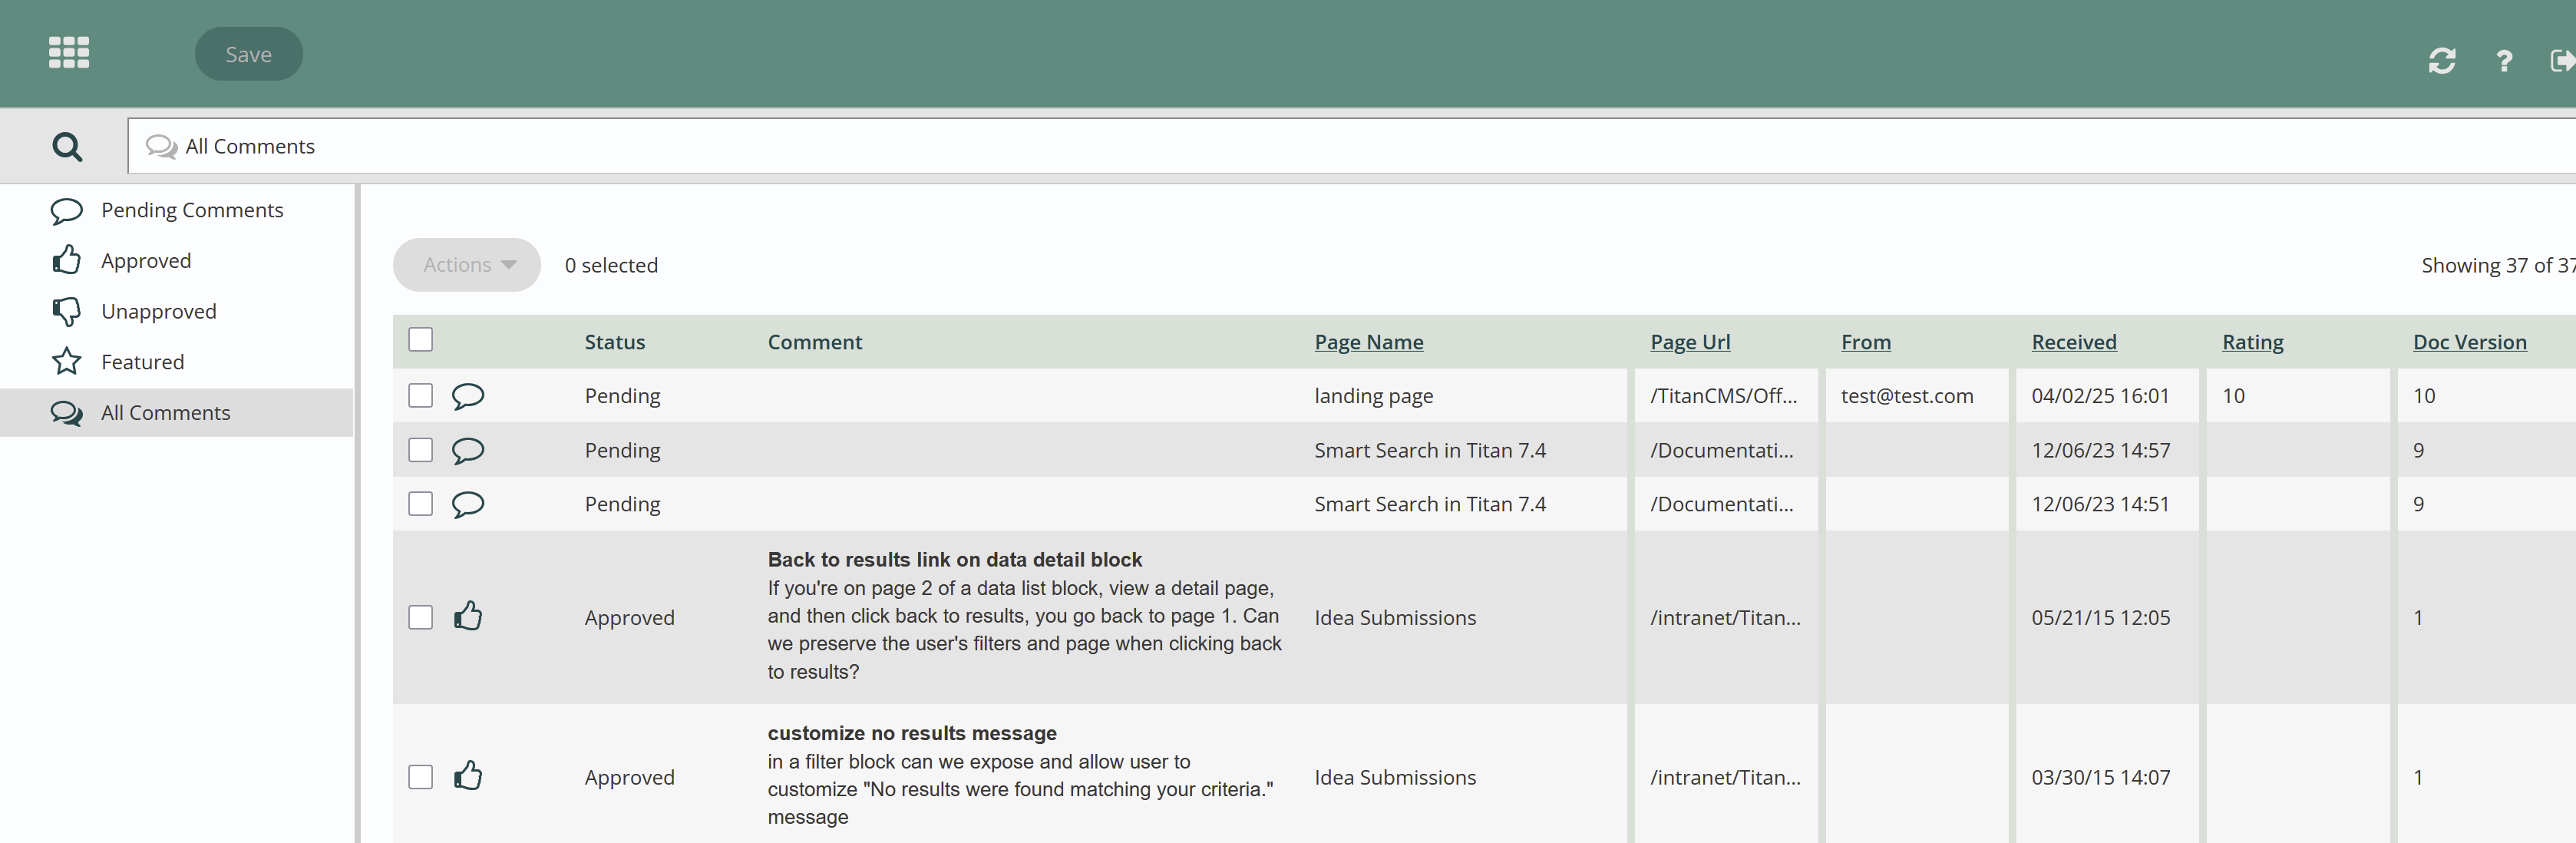
Select a comment or comments to use the Action menu you can perform individual or global actions: approve all, un-approve all, feature all, delete all.
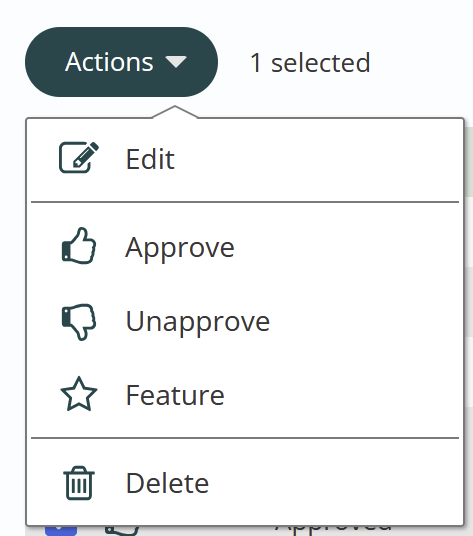
Double click on a comment to edit (in some cases you may need to edit content of comments).
Use edit to remove offensive language or names that you do not want to appear on your site.
Click save to save your changes.
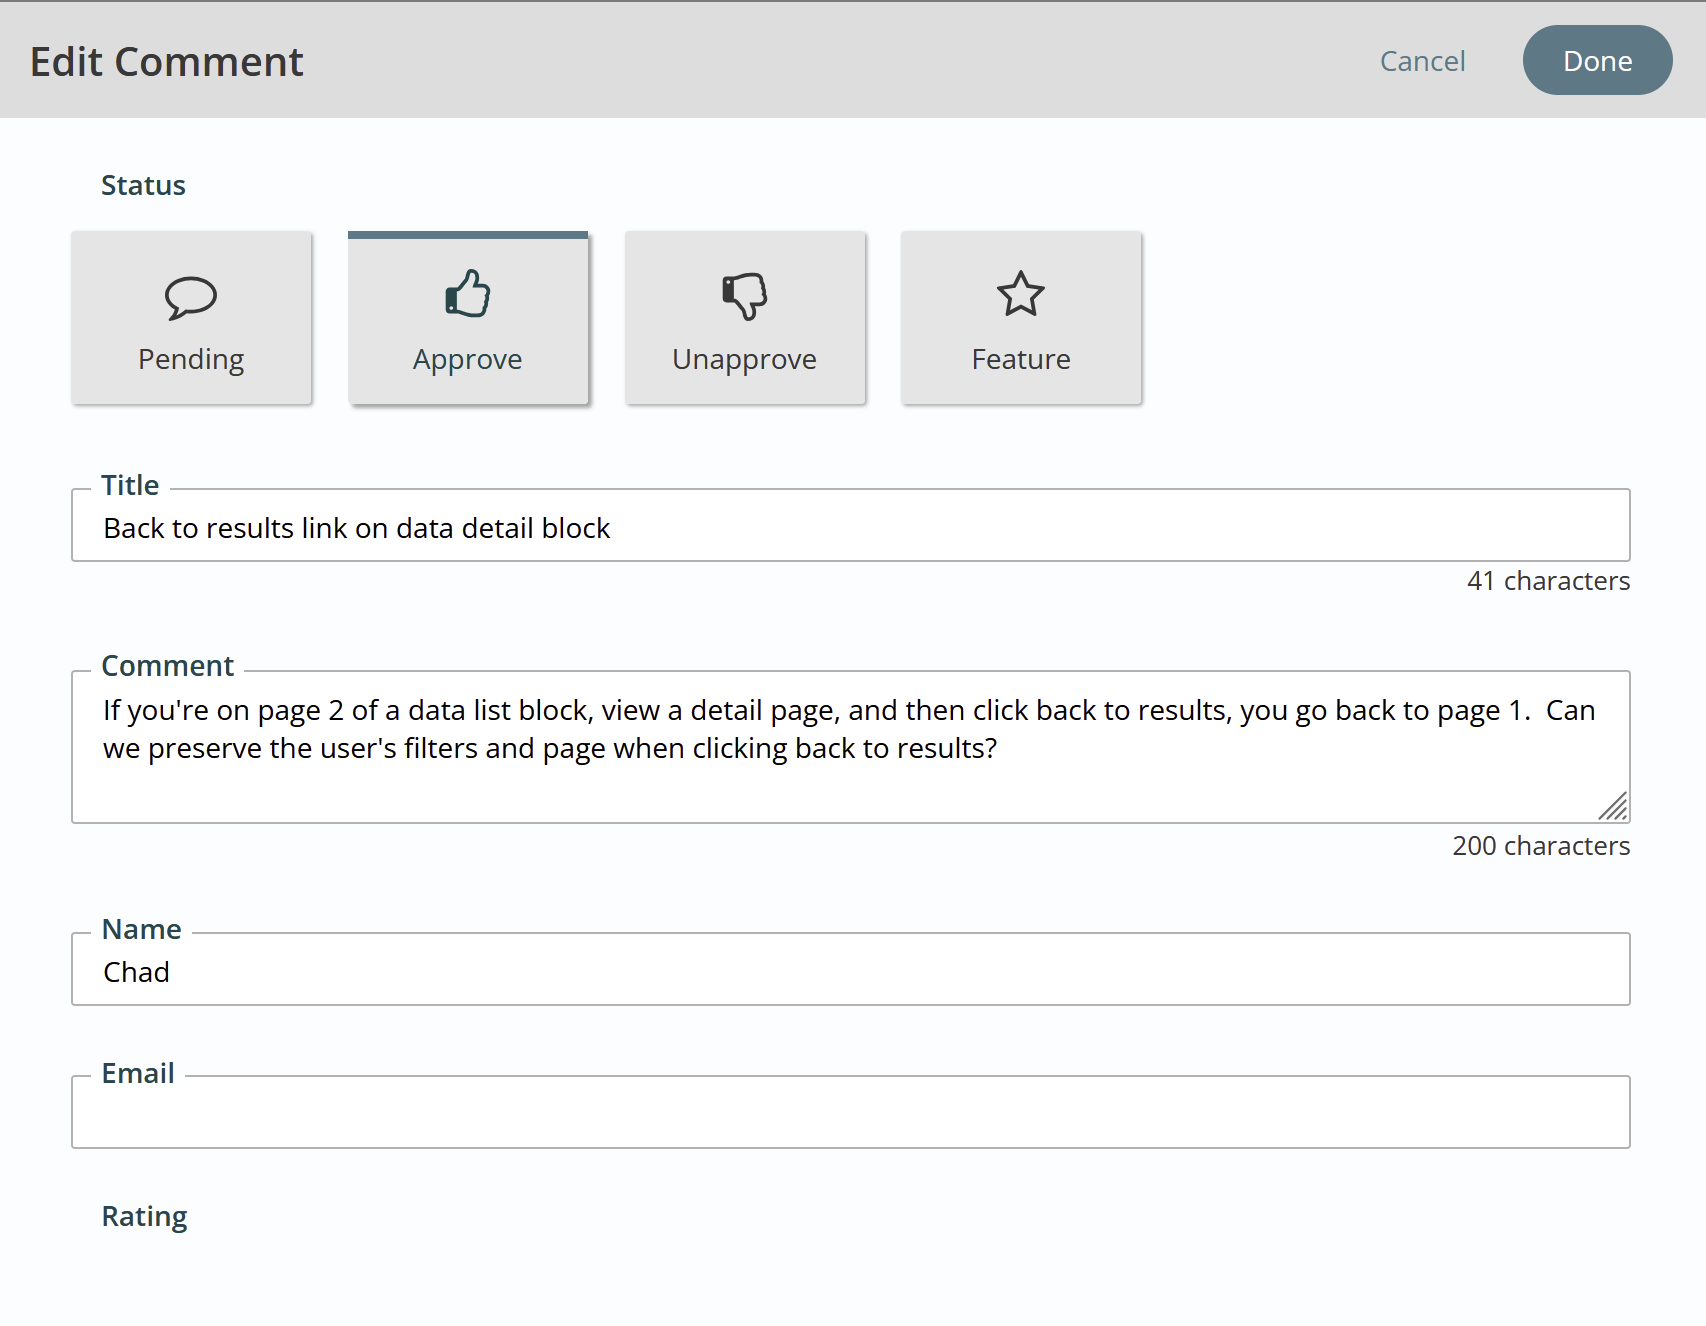
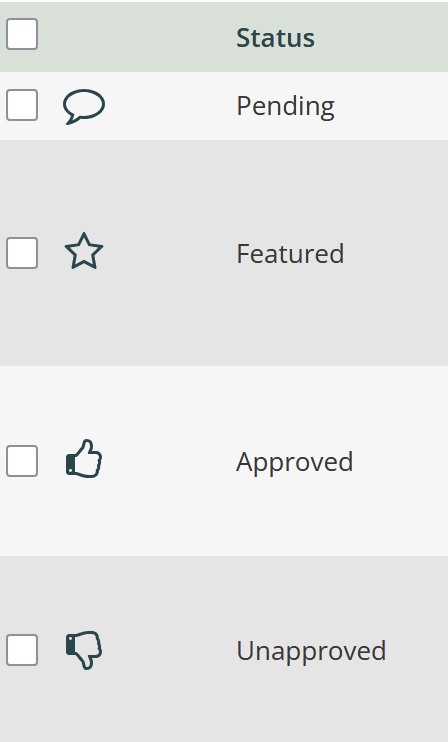
The icon on the left tells you the state your comment is in, you can individually approve, unapproved, feature or delete your comments with one click.
If you multi edit comments (approve, unapproved, feature, or delete) with the Actions menu it will apply to all comments selected on the page. After you approve you need to Save to complete
Get Support
Expert Titan CMS Support is just a phone call or email away!
Titan CMS Help Desk
9a.m.-5p.m. CT Mon-Fri
Tel: 414-914-9200
Email: [email protected]